Product Selector
Click-to-answer questions guide you through selecting the right product for your application.

Supplying some of the largest companies in the world, Adwin Spring Co. prides itself on producing accurate prototypes in both wire and flat materials to very tight deadlines.
With state-of-the-art manufacturing technology supporting the skills of its experienced spring makers, the company is able to cater to an extremely diverse client base in both short-batch and large-volume productions.
When traditional part measurement methods were no longer fully satisfying the speed or accuracy needs of its growing customer base, for example, it quickly identified the need to make some significant changes.
That’s when Adwin discovered OGP® – a world-leading multisensor metrology solutions manufacturer.

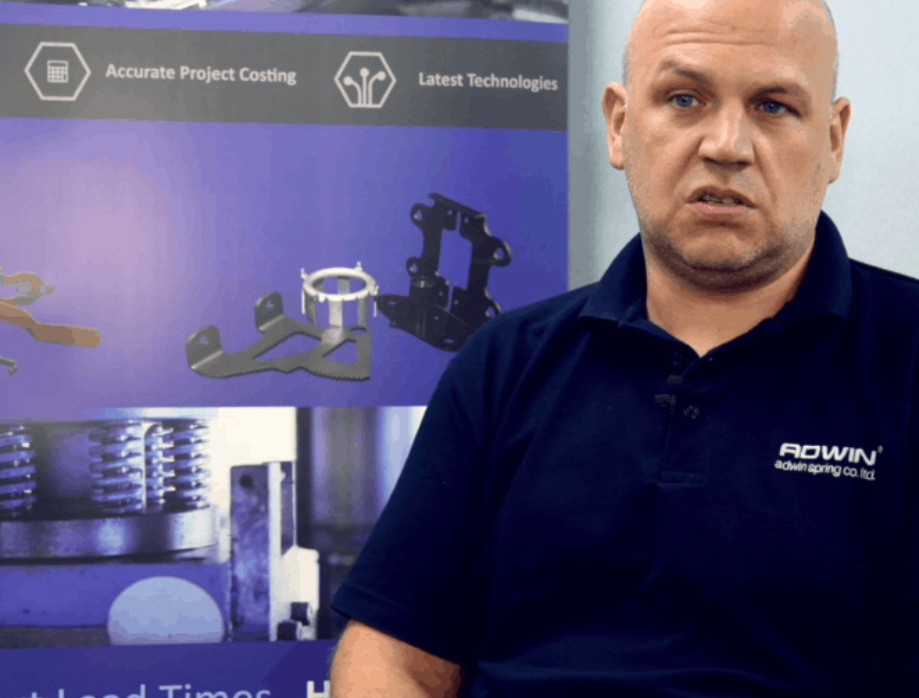
Will Hayes, Quality Manager at West Bromwich-based Adwin, said: “Before we purchased the OGP machine we used traditional measuring methods of Vernier calipers, micrometers and shadowgraphs.”
“With a lot of those methods you can get different people getting different readings that can be quite inaccurate.”
“We were looking for an alternative method because our customers were demanding more accurate results as well as different types of reports and feature sets to what we were traditionally using, as well as 3D measurements.”
“So we looked into different methods such as laser scanning and other non-contact companies, but found OGP UK to offer the best product.”
“We needed a non-contact form of measurement as a traditional CMM would move the springs instead of making a definite assessment.”

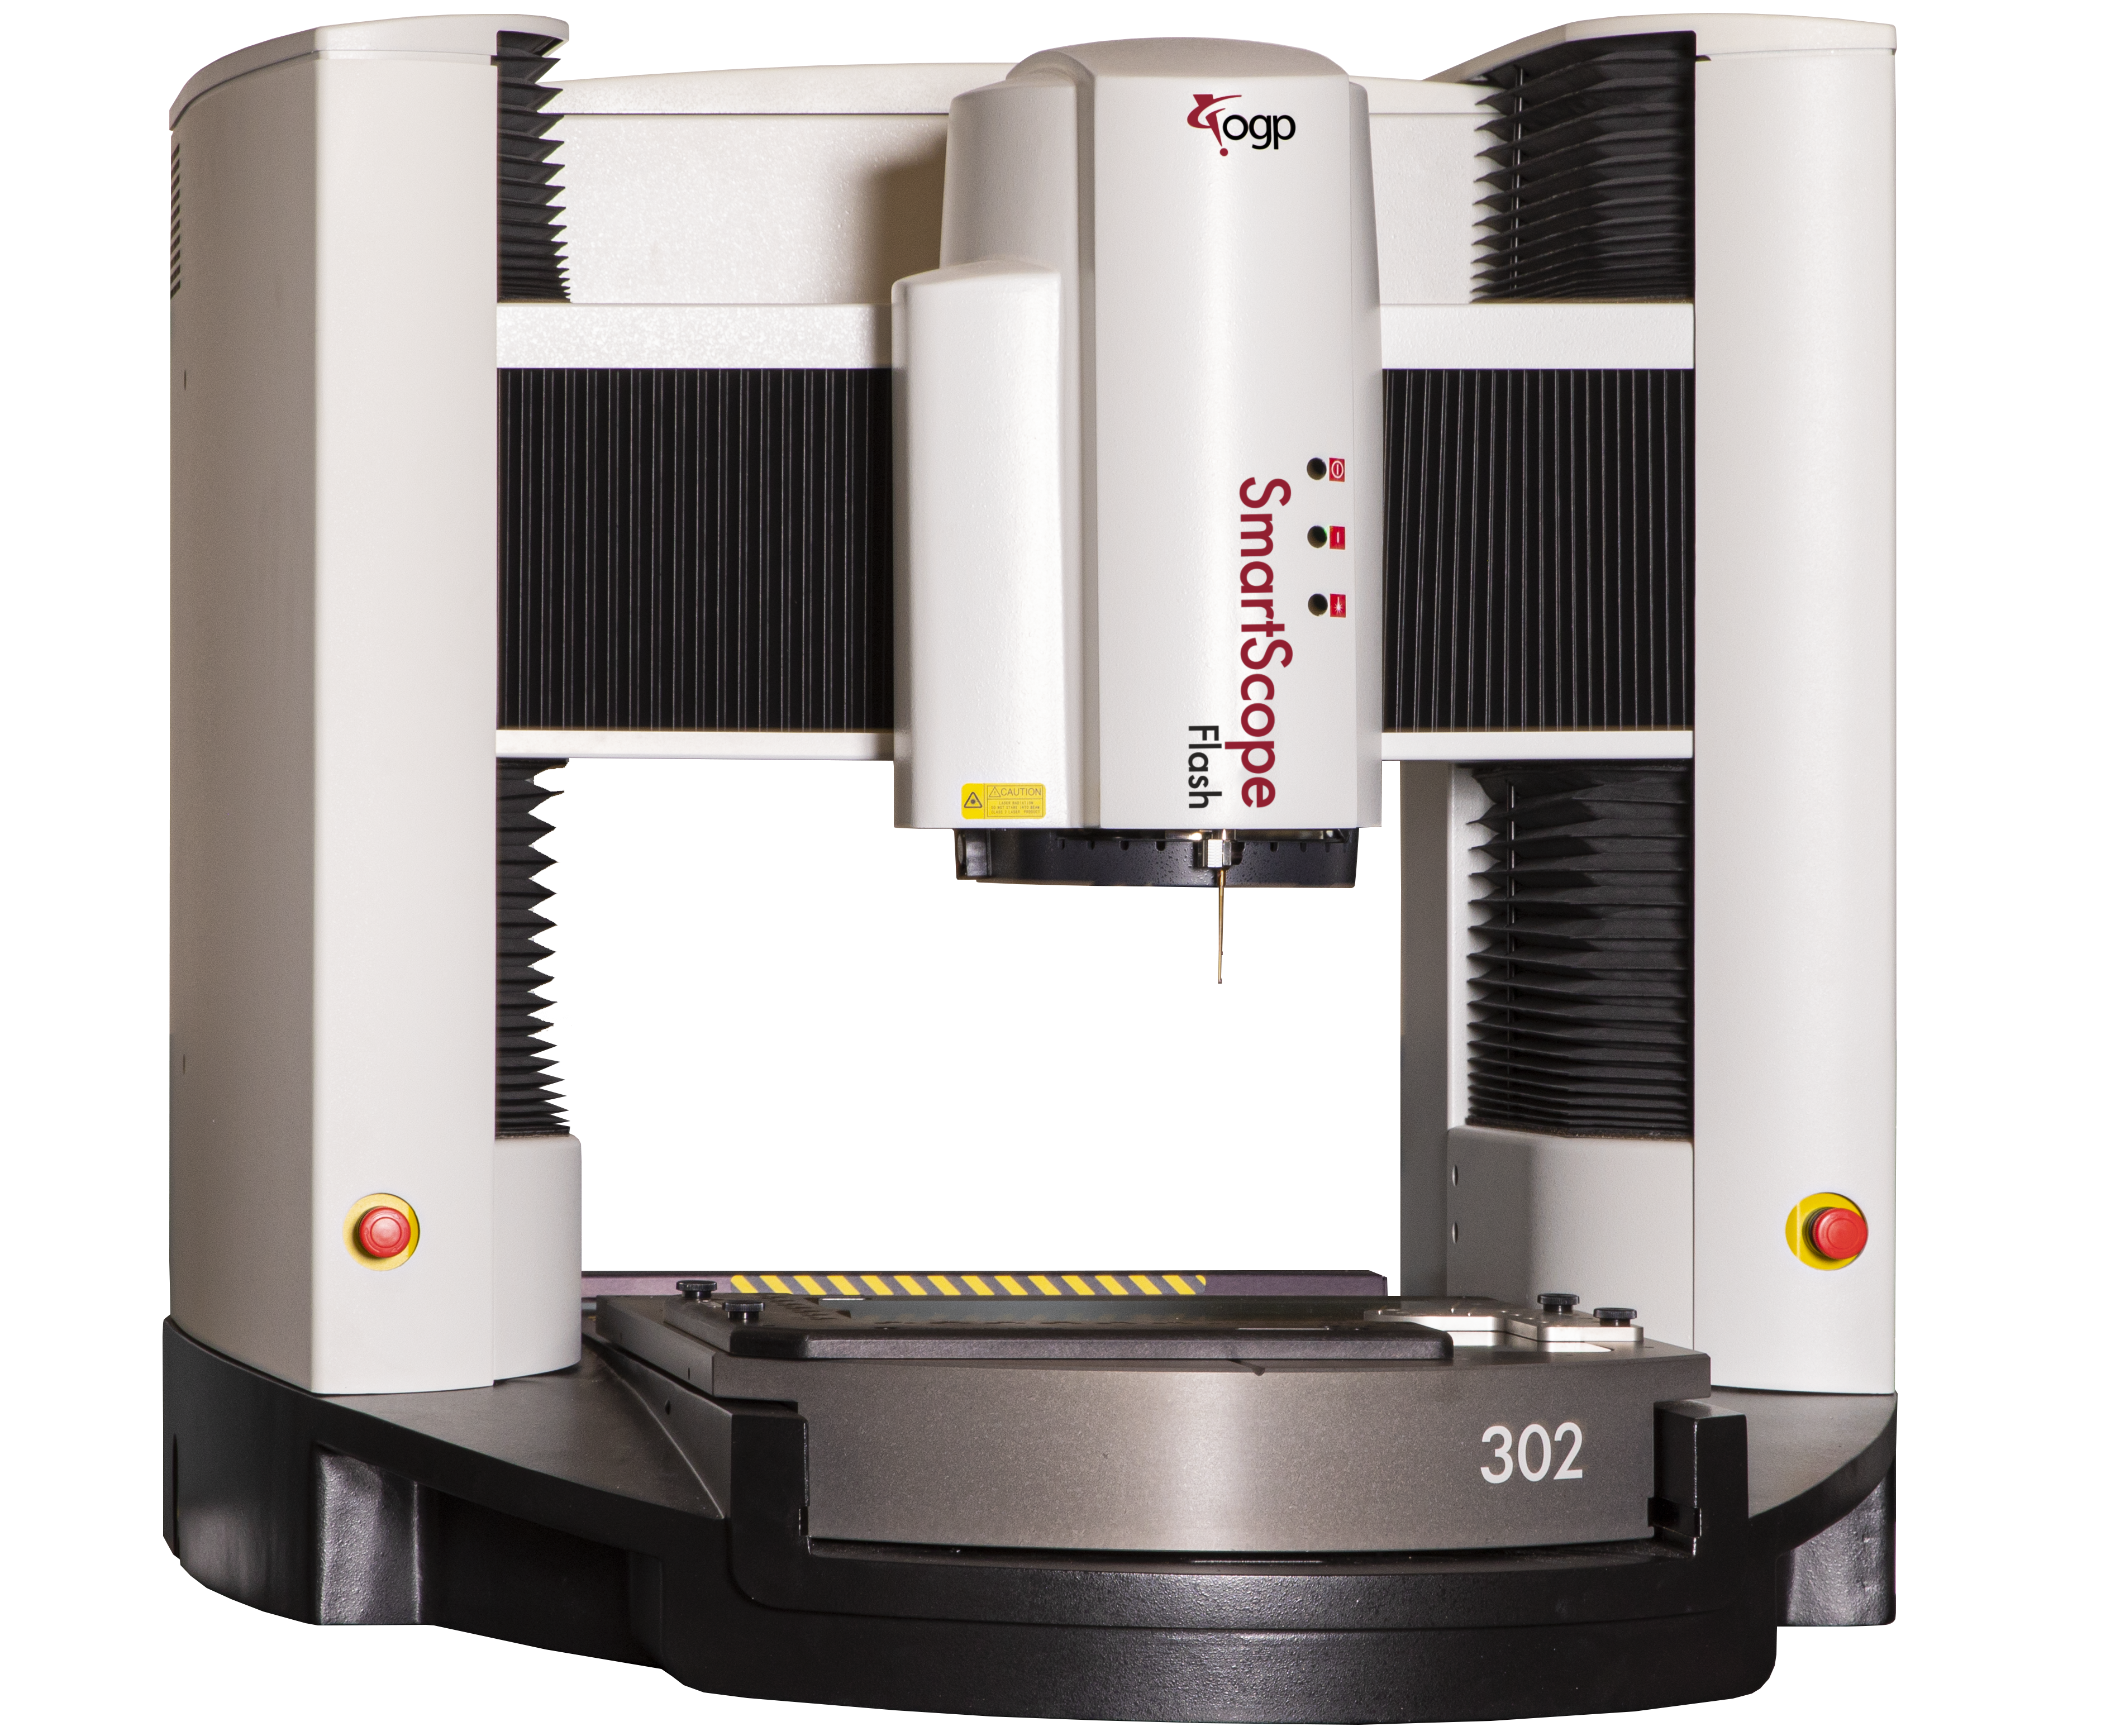
Backed by intuitive and simple-to-operate software, the OGP SmartScope® Flash™ 302 machine purchased by Adwin boasts advanced multisensor metrology capabilities, utilising a high-quality auto-calibrating camera and supporting a combination of touch probes, micro probes and laser scanners.
It is designed for use on the shop floor and, across a multitude of industry applications to collect and gauge detailed data quickly, precisely, reliably, and automatically, even on the most complex parts and features.
Working with more accurate and real-time statistics from a single reference point means tighter control of production processes, as issues can be identified and remedied immediately. Less scrap, minimal rework and faster throughput are just some of the benefits.
 "We started to see the benefits, I would say, within the first month."

That’s what makes OGP the metrology system of choice for manufacturers across the globe.
Mr. Hayes said: “During the demo stage we realized that the OGP interface was more suited to our business as we produce a large range of parts, so set-up and program initialization needed to be much quicker than most other machines because of the vast array of products we’re making.”
“We started to see the benefits, I would say, within the first month. A lot of our parts, as we’re doing process inspection, were programmed up very quickly and then the machine runs the program in 30 seconds rather than the five minutes it took checking things on a shadowgraph.”
“Other than a major improvement on process inspection and the time saved on writing reports and producing first-off inspections, it’s also drastically improved the quality of the product we send to our customers. It’s completely eliminated any sort of inaccuracies.
“Since having the machine we’ve demoed it to some of our customers and suppliers who have both been suitably impressed.”
Fully certified to ISO 9001:2015, OGP UK strives to provide a level of customer service that meets the very highest expectations when it comes to equipment supply, installation, training, and support.
Mr. Hayes added: “During the implementation and set-up the machine got delivered on time. The OGP engineer was here within two days and the training we received from the team was fantastic.
“The training days were very necessary for some of our staff and they greatly benefited from it.”