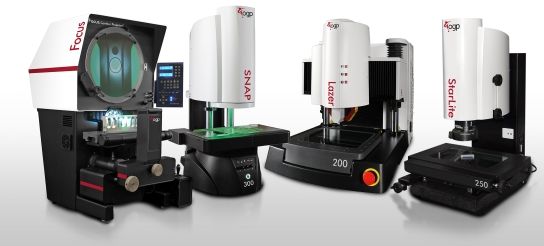
Amongst the breadth of product offerings available from OGP, ShapeGrabber automated 3D laser scanning systems stand out as a unique technology for use in a wide variety of measurement applications. While the marketplace offers many laser scanning solutions, few companies have successfully designed them to attain the accuracy levels of traditional multisensor measurement machines. OGP engineers, however, have developed a new generation of metrology-class ShapeGrabber scanheads that are helping quality teams redefine how they measure.
History of ShapeGrabber
ShapeGrabber systems have their roots in technology originally developed by the National Research Council Canada, the primary national agency of the Government of Canada dedicated to science and technology research and development. Produced by the Vitana Corporation, early models generated 3D characterizations of parts for inspection and reverse engineering applications.
The ShapeGrabber division of Vitana became a separate entity in 2000 and was acquired in 2014 by Quality Vision International, the parent company of OGP. In a press release dated April 6, 2014, R. Stephen Flynn, President of OGP, said: “ShapeGrabber satisfies a need among our customers for fast, easy-to-use industrial 3D scanners that can measure complex shapes effectively. It extends the speed and versatility of products we offer to our customers worldwide.”
After the acquisition, ShapeGrabber systems brought immediate appeal to specific OGP customer segments but were only capable of measurements in the 20-30 micron range. Since then, OGP engineers have put their indelible mark on the systems, re-engineering each machine’s design for repeatability, and improving the scanheads to attain metrology-level accuracy.
How Do ShapeGrabber Systems Measure?
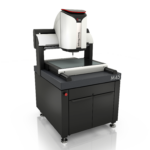
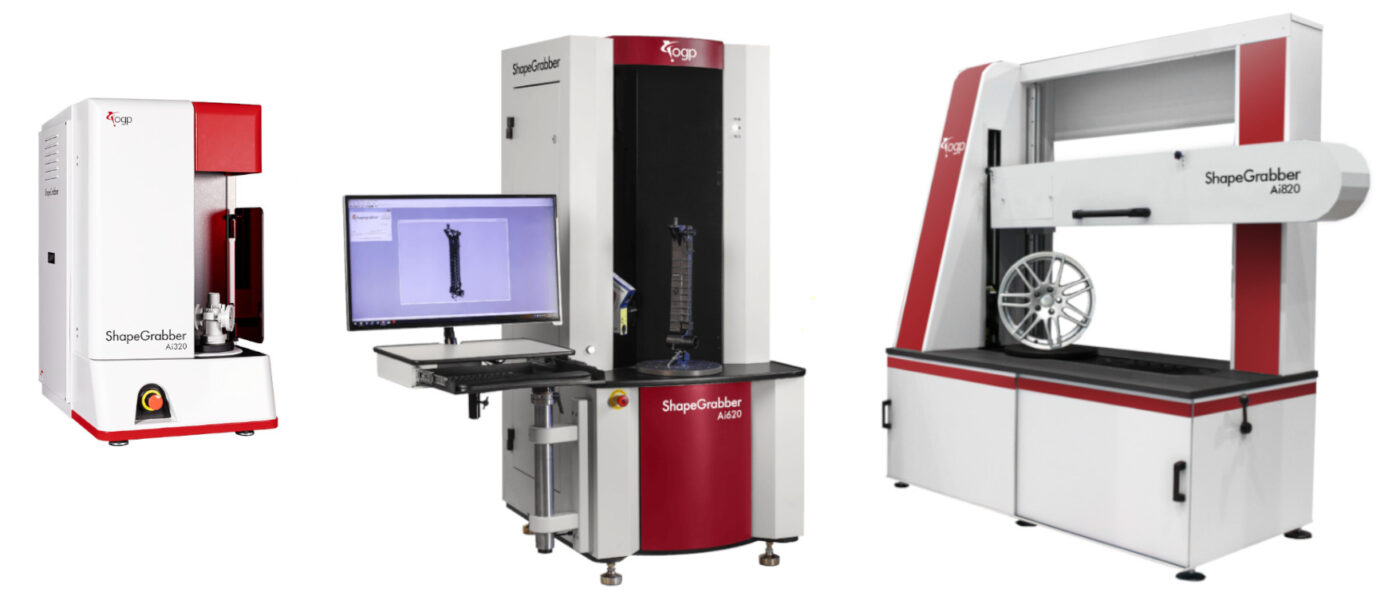
ShapeGrabber systems combine a highly rigid and stable mechanical structure with high-precision vertical and rotary motion, state-of-the-art calibration, and leading-edge optics built into completely self-contained ergonomic space-saving designs. Three models are available – the compact Ai320 benchtop machine, the Ai620 floor model, and the Ai820 large capacity floor model which offers an additional scanhead on a horizontal axis.
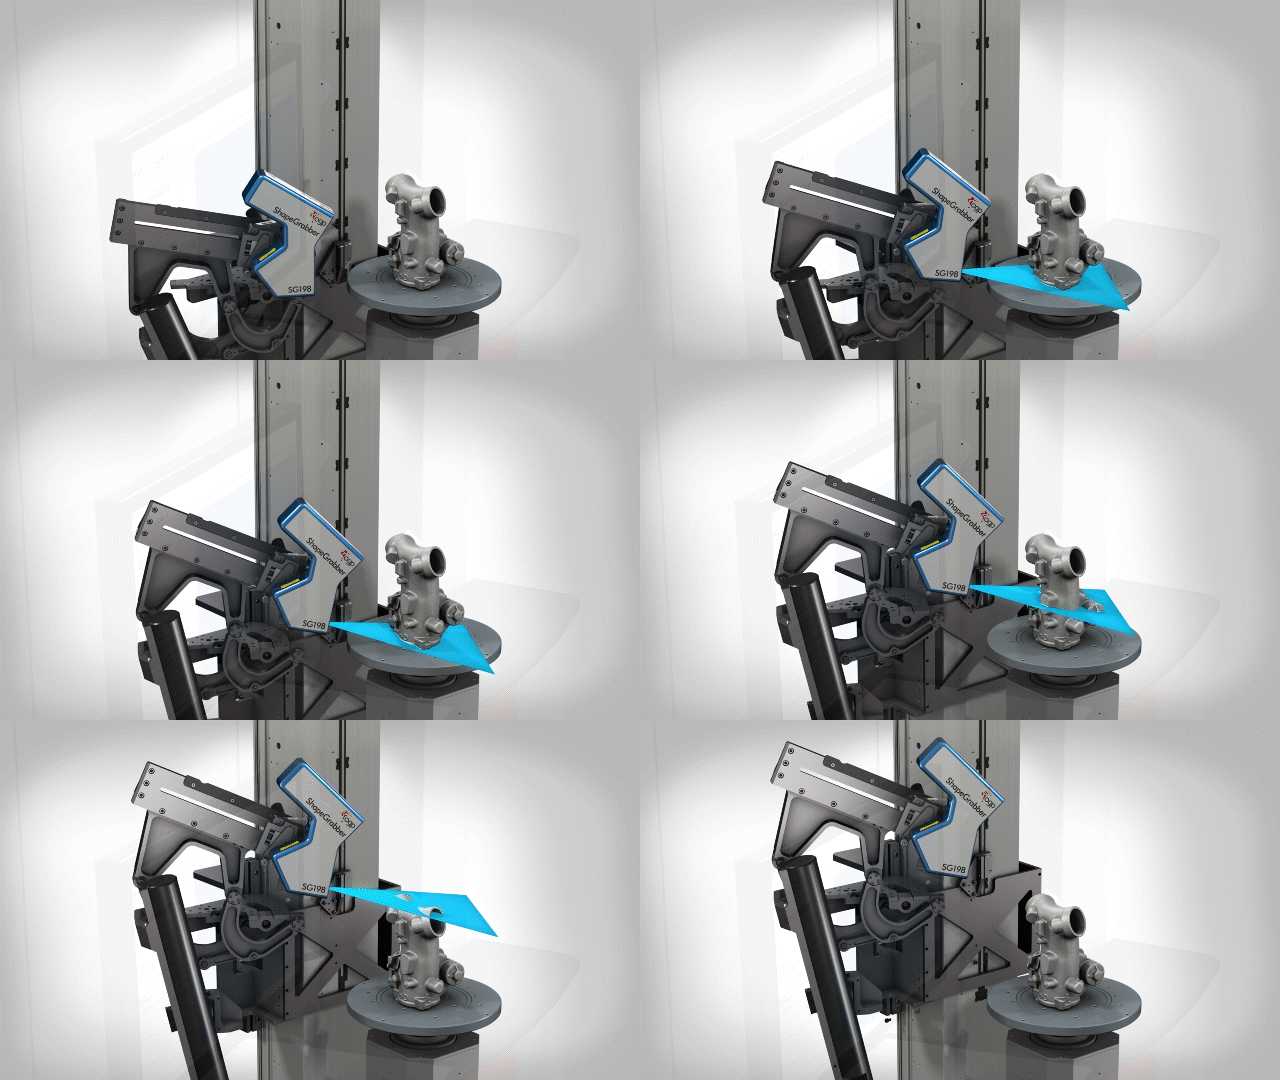
High-accuracy scanheads are the heart of each system and digitally capture the size and shape of objects using a line of laser light. Laser line scanning is a non-contact, non-destructive technology that is quite different from other OGP laser scanning technologies which use a laser point sensor traversed across a surface. Both techniques create “point clouds” of data from the surface of an object, but laser line scanners do so much faster and typically with a higher point density.
Fast and Easy Full Part Coverage
Unlike coordinate measuring machines and other traditional methods that rely on the inspection of a few pre-programmed points, ShapeGrabber non-contact 3D scanners capture the complete surface geometry of the part. When a part is placed on the precision 360° rotary table of the scanner, the laser automatically scans while the vertical motion assembly lifts the head, and the rotary table turns the part. The laser produces a ”point cloud”, consisting of millions of closely packed 3D data points that capture the entire three-dimensional shape. Each data point consists of x, y, and z coordinates of the surface.
The scan process runs quickly. Once the part has been scanned, the 3D scan data can be used for measurement and inspection. Users simply open the part’s reference data file (normally in CAD format) using the inspection software included with the ShapeGrabber system. By specifying the part’s tolerance envelope and importing the point cloud data from the scan, the user can compare the reference data to the scanned information.
After comparing the point-cloud scan information with the reference data, the ShapeGrabber 3D scanner generates an inspection report that can be saved or printed. This highly visual report includes a color tolerance map: a color-coded 3D image of the part that is used to quantify the deviation of the part’s shape from CAD, including GD&T specifications, error maps, individual measurements listed in tabular format, cross-section analyses, and more.
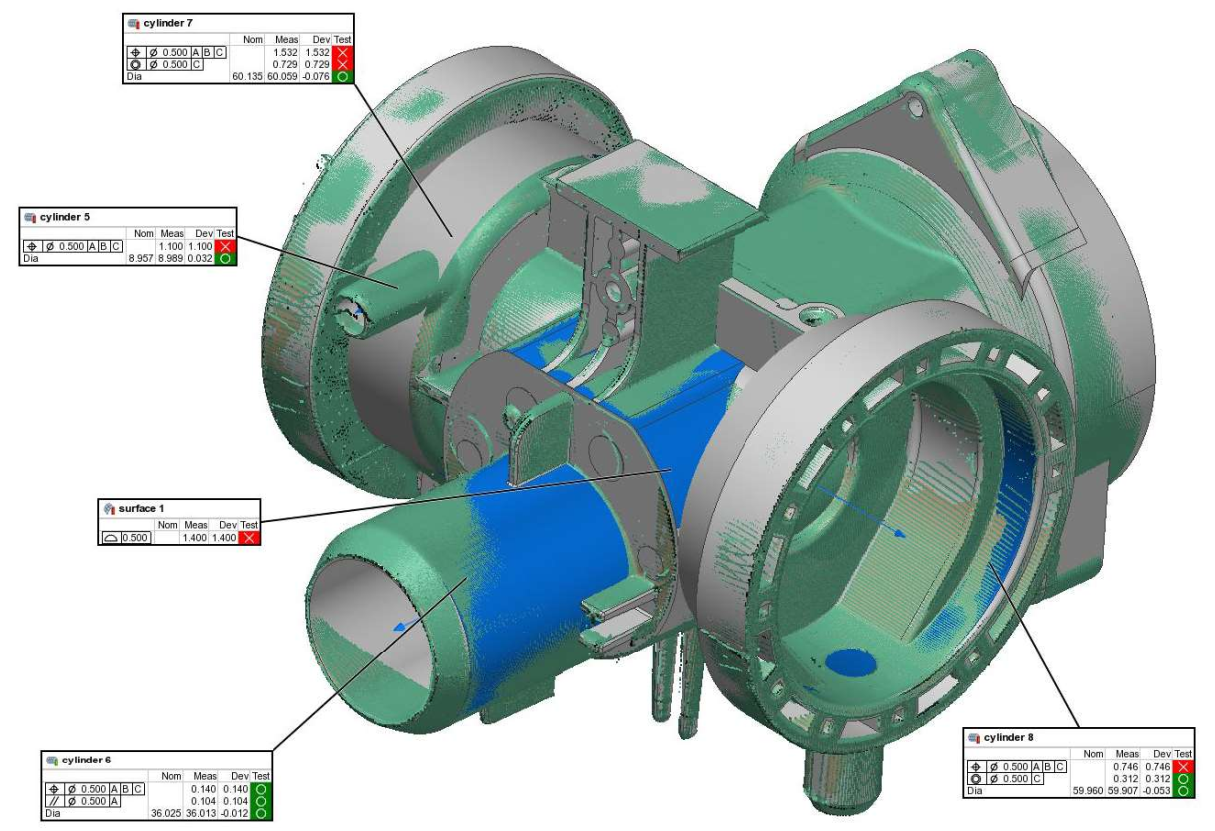
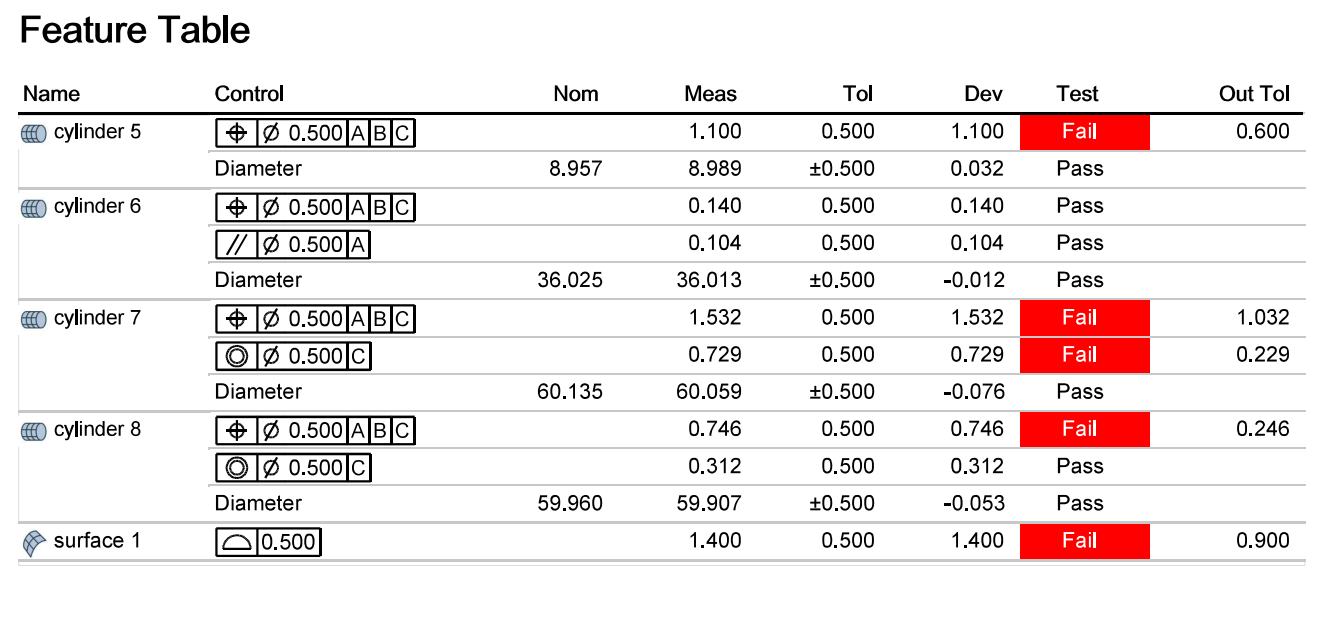
A sample inspection report
Key Advantages of ShapeGrabber Systems
SPEED
Able to capture up to 1.5 million datapoints per SECOND, ShapeGrabber systems are fast!
ACCURACY
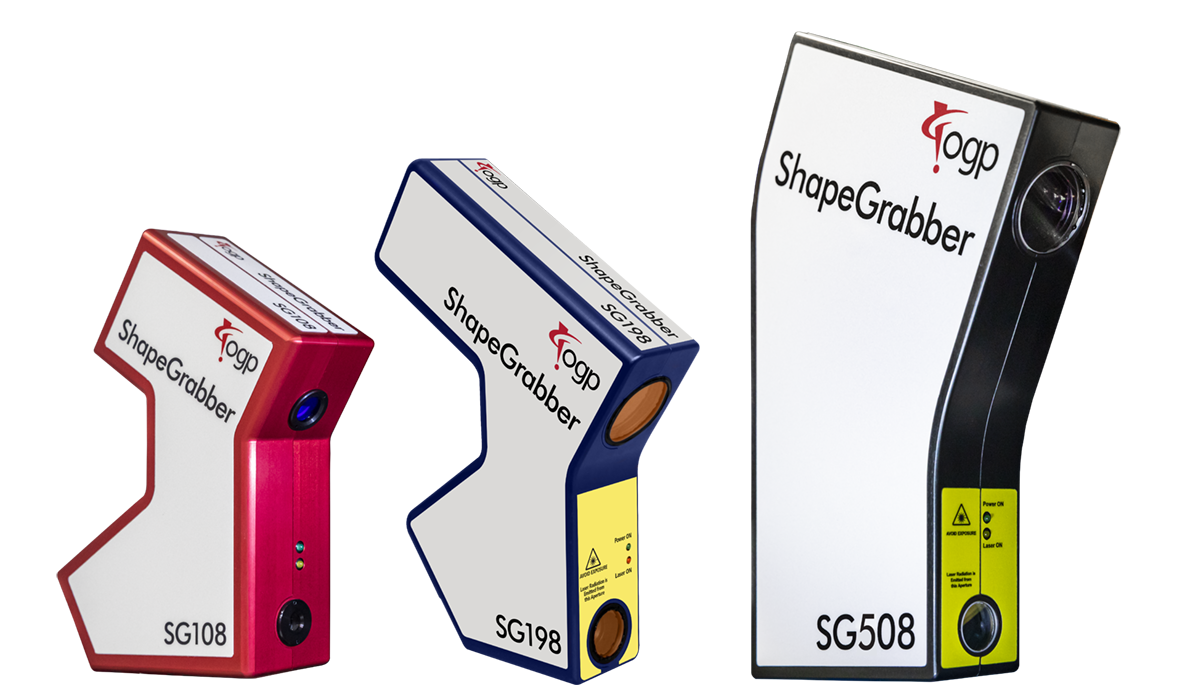
ShapeGrabber scanheads offer exceptional speed, accuracy, resolution, and dynamic range. They feature an optical arrangement that draws on OGP’s 75+ years of experience designing optical systems for precision measurement. The SG108 scanhead available in the ShapeGrabber Ai320 benchtop model, for example, is capable of 6 micron accuracy. The sensor optics provide extremely low noise data that far outperforms other 3D scanning technologies.
ABLE TO MEASURE COMPLEX SHAPES
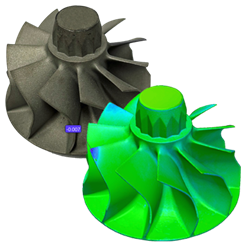
ShapeGrabber systems are ideal for measuring complex shapes such as molded plastics, castings, stampings, and machined parts that are time-consuming, costly, and difficult to measure. This includes parts with round curves such as medical implants and turbine blades.
DIFFERENT MATERIALS, COLORS, TEXTURES, AND FINISHES
They can also measure many different materials, colors, textures, and finishes. This includes soft flexible components and plastics found in the food processing and beverage industries. Matte black plastic and 3D printed parts in the electronics industry also respond well in ShapeGrabber scans.
In machining industries, ShapeGrabber scanners are particularly tolerant of reflective surfaces, offering some of the lowest sensitivity to reflections among industrial 3D laser scanners. While transparent and shiny reflective parts often present challenges for laser scanning systems, machined aluminum parts and cold-rolled steel parts generally do not require a spray coating prior to scanning with ShapeGrabber systems.
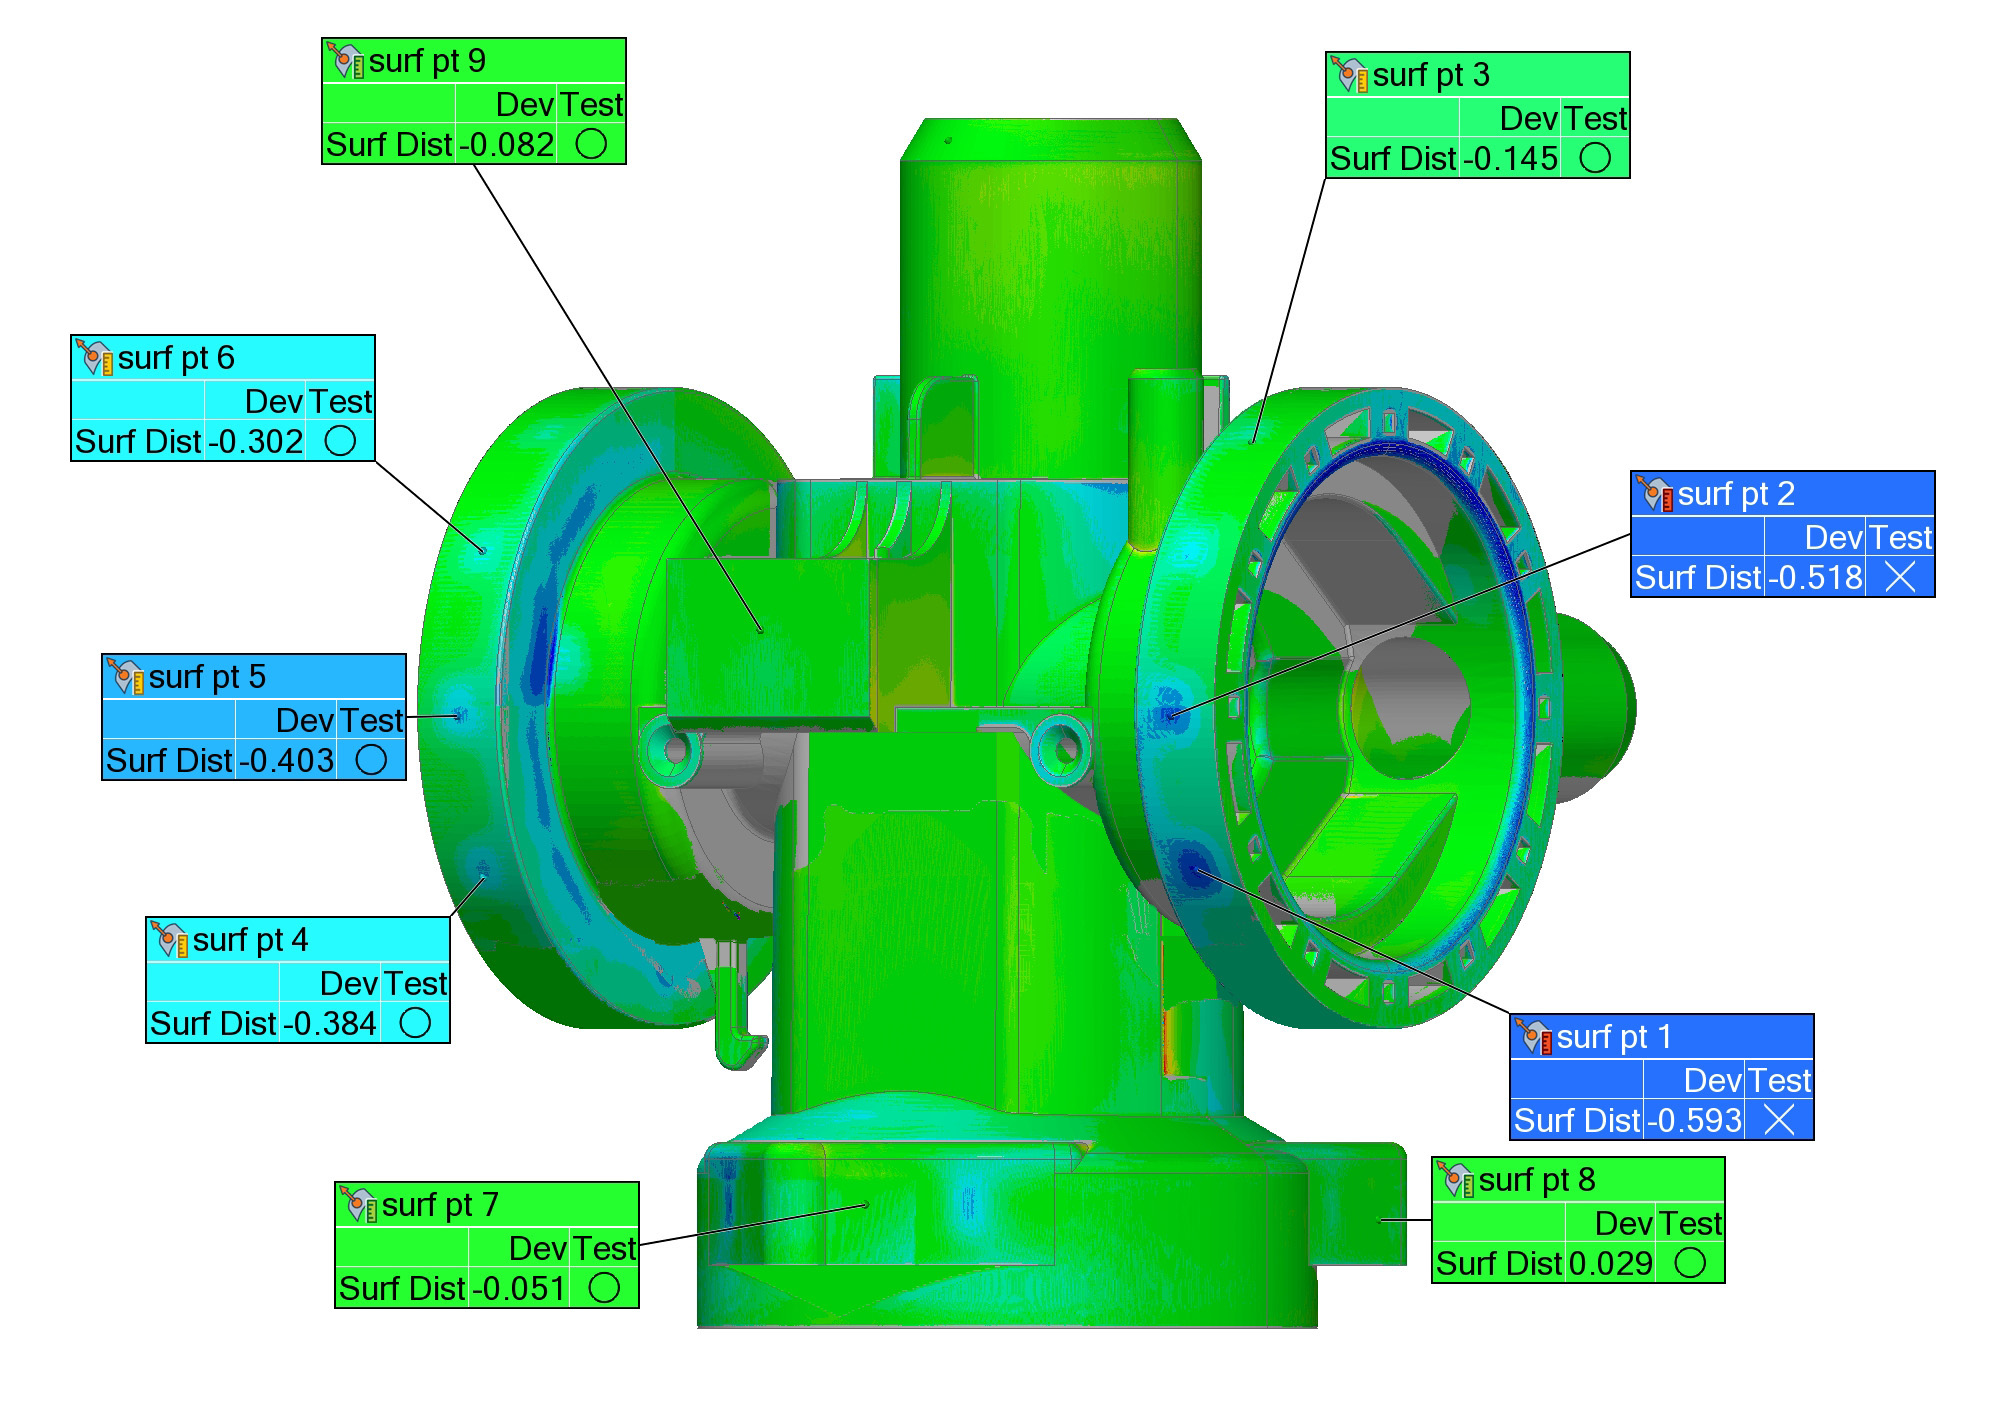
DETAILED VISUAL REPORTS
ShapeGrabber 3D scanners generate visual inspection reports a 3D color representation of the part and detailed specifications including GD&T.
EASE OF USE
With labor shortages affecting every industry, ShapeGrabber systems require very little training, and no need for software alignment and registration. Users can simply place the part, start the scan, run the inspection, and repeat. Scanning parameters are easily selected and saved. After an initial scan, the same scanning parameters may be used for subsequent parts, delivering consistent results irrespective of operator skill or experience.
Case Studies: How Manufacturers Use ShapeGrabber Systems
ShapeGrabber automated 3D scanners excel in rapid prototyping, manufacturing, quality control, and reverse engineering applications. The following case studies provide detailed information on how manufacturers use ShapeGrabber systems.
REVERSE ENGINEERING, PART REPLICATION, AND RAPID PROTOTYPING
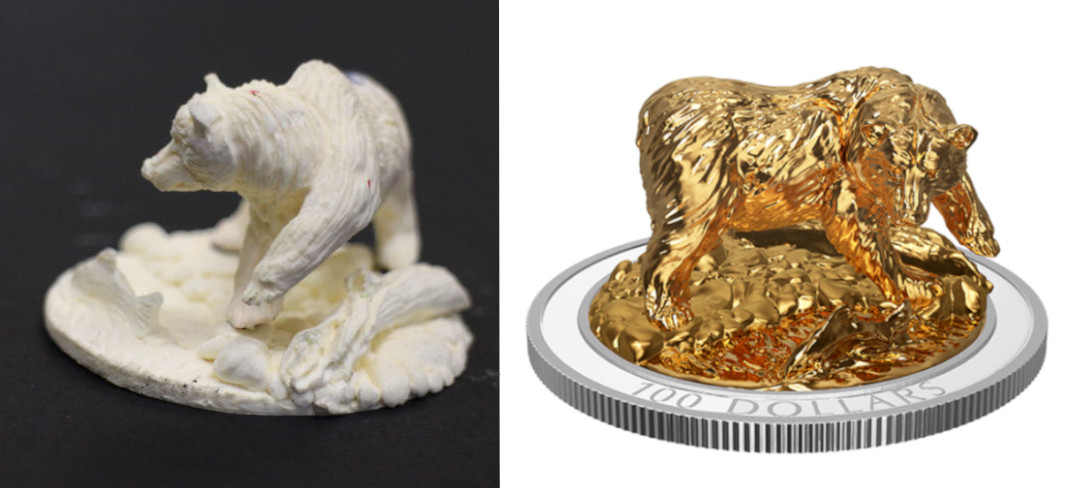
When manufacturers need to replicate a part for which there is no original CAD file, or duplicate physical prototypes, ShapeGrabber systems offer a fast and accurate way to create complete digital 3D models. ShapeGrabber systems can scan differing individual parts back to back, or be programmed for repetitive part measurements. This helps manufacturers prove out concept designs, validate research, and gain visualization.
Such was the case with the Royal Canadian Mint when they sought to produce innovative figurine coins featuring gold-plated, silver-cast statuettes prototyped from original artist carvings.
FIRST ARTICLE INSPECTION
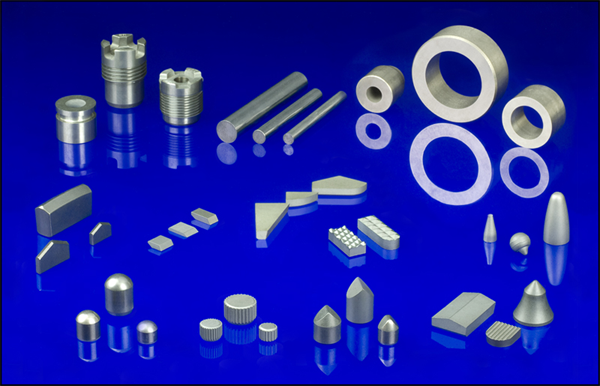
When performing First Article Inspection (FAI) on new production parts, ShapeGrabber systems take measurements quickly and require little human involvement, freeing the operator to perform other tasks. Casmet Supply Ltd, a high-quality tungsten carbide component manufacturer, uses ShapeGrabber to measure its small, complex parts with a high degree of automation.
INJECTION MOLD TRYOUT
ShapeGrabber scanners excel in injection mold tryout processes by measuring the mold itself, or the parts produced from it, quickly and easily. After the scanner collects the data points and compares them directly to the part’s 3D CAD model, any deviations are immediately shown, allowing for quick acceptance, or troubleshooting of issues.
It is also fast and easy to verify molds using a variety of materials. By comparing the 3D scans to each other as well as to the part’s CAD model, mold makers can readily see how different materials behave in the same mold.
Read how injection molder Plastikos Inc. uses ShapeGrabber in its processes.
MEASURING WARPAGE IN INJECTION-MOLDED PLASTIC PARTS
ShapeGrabber laser scanners can analyze how a plastic part changes shape as it cools after being removed from the mold. Operators quickly scan a target part as soon as it is removed from the mold, and then repeatedly scan the same part at regular intervals as it cools. The first set of scans is used as a baseline for comparison and each subsequent set of scans is compared to the original.
This approach provides a useful visual and dimensional representation of how the part distorts during the cooling process. Insight into how the part geometry can affect the cooling process facilitates design improvements to reduce warpage.
Learn how Miniature Precision Components (MPC) Inc. uses ShapeGrabber to measure deviations in its parts.
INCOMING PART QC INSPECTION
ShapeGrabber systems can help inspectors quickly determine whether a supplier’s part meets specifications, without having to do a complete part layout. The resulting point cloud can be quickly compared directly to a 3D CAD model or to a known good part. This provides rapid validation of the supplier’s quality control process. This is particularly helpful in smaller machine shops and contract manufacturers with limited metrology programming skills on staff.
POST-PRODUCTION INSPECTION
In similar ways to First Article Inspection, ShapeGrabber systems can be used for part inspection after production. Rapid scanning of whole parts easily accommodates varying sizes and short runs.
Read how lawnmower blade manufacturer Blount International incorporated ShapeGrabber into their quality assurance process.
Whirley DrinkWorks, a food and beverage container manufacturer, also uses ShapeGrabber to identify non-flat surfaces on their products.
IN CONCERT WITH OTHER METROLOGY SYSTEMS
ShapeGrabber systems can also be used to augment measurement routines with other metrology systems. For example, a hybrid approach with a traditional coordinate measuring machine (CMM) could mean first checking the parts with the ShapeGrabber system, before starting a CMM routine. After a quick scan, the system could give feedback on most dimensions and provide an overall view of the part compared to the nominal design. If the part passed the first check, then it would be sent to the CMM where only the remaining critical features are measured. If the part failed the ShapeGrabber inspection, then the part would stop – and no time would be wasted on the CMM.
IN MODEL-BASED DESIGN (MBD)
Because Model-Based Design is based on 3D CAD/CAM modeling, companies using 2D-based inspection processes and equipment can use ShapeGrabber systems to rapidly create 3D models, removing time and cost from the inspection process, and discrepancies between 2D and 3D information.
How Could Your Operation Use ShapeGrabber?
As a relatively new technology proving its success in higher precision metrology, manufacturers are still discovering new ways to use ShapeGrabber systems. Some companies are in industries that have not yet relied on metrology processes for quality inspection. Others are simply exploring ways to increase speed and automation in their existing operations.
Because ShapeGrabber systems are designed for metrology, engineered for speed, accuracy, and ease of use, they are performing beyond typical 3D laser scanners, which are intended for simple modelling or reverse engineering. Appealing to traditional and new industries alike, ShapeGrabber systems are allowing quality teams to operate faster, with less human involvement, and with higher degrees of accuracy expected from traditional metrology systems.
OGP is proud to offer ShapeGrabber measurement solutions to support your manufacturing needs. Our worldwide network of authorized OGP representatives offers expert support and service for ShapeGrabber systems anywhere in the world. For more information about ShapeGrabber systems, visit www.ogpnet.com/shapegrabber.


