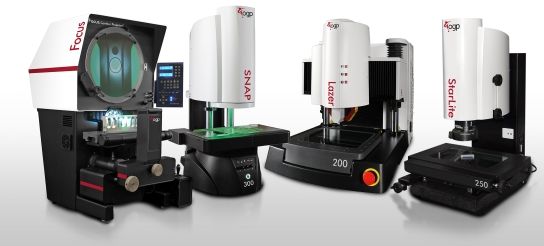
OGP has enjoyed a long history of innovation. Below are 10 key OGP inventions that transformed the Metrology Industry.
Since 1945, OGP systems have played a vital role in ensuring the quality of component parts used in a wide variety of industrial success stories. This includes personal computers, smartphones, digital video, electric cars, and even components used in the space program. Consumer products produced around the world contain parts measured on OGP systems. OGP is proud to be the leading optical technology innovator and pacesetter in the industry.
OGP has enjoyed a long history of innovation. Below are 10 key OGP inventions that transformed the Metrology Industry.
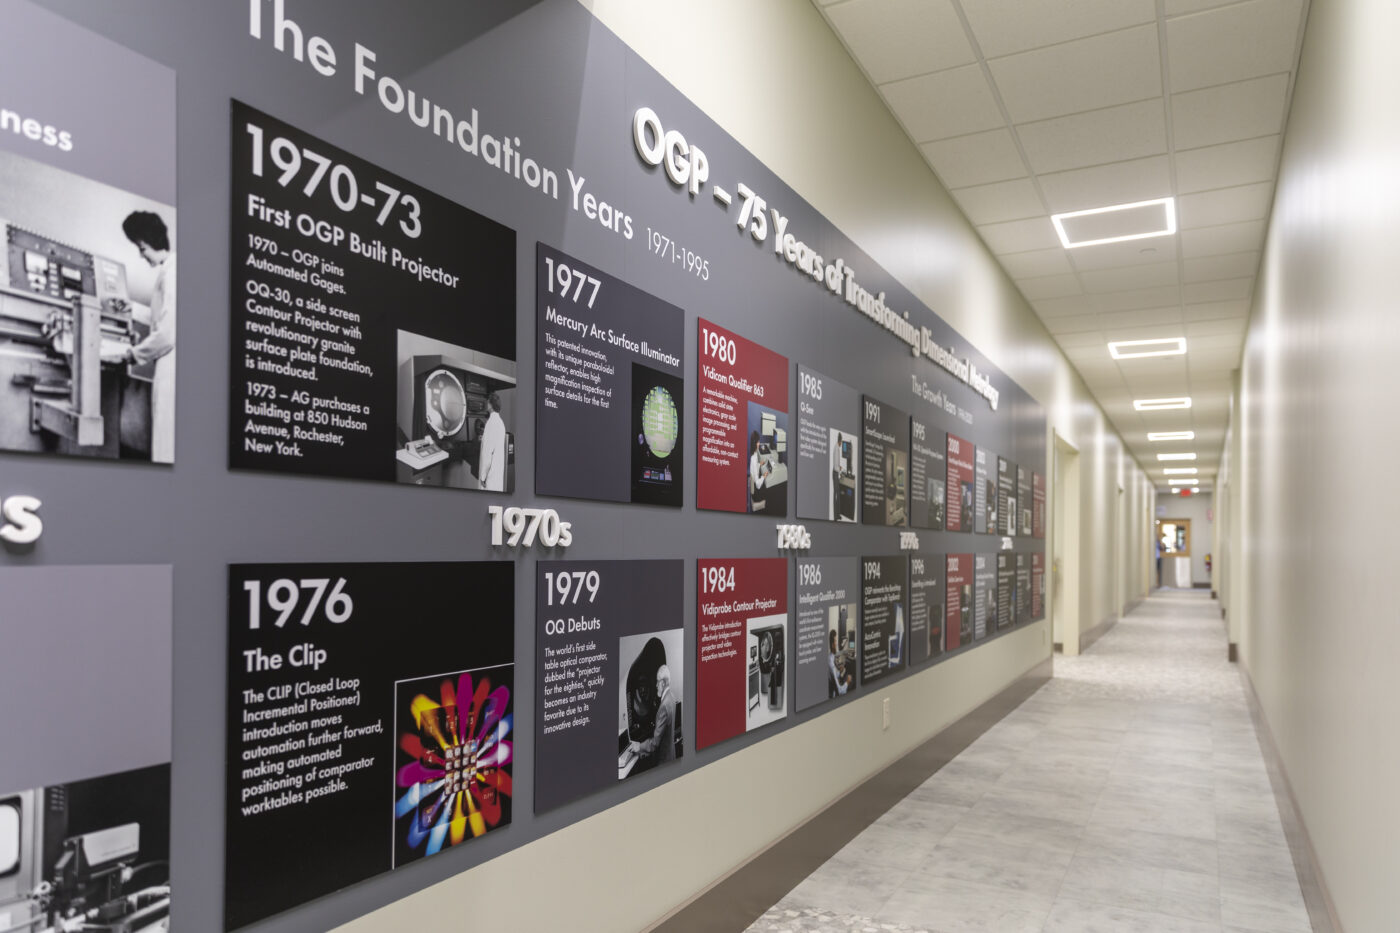
The OGP History Timeline in our Rochester, New York corporate headquarters.
1.) First Electronic Edge Detection System
Invented in the 1920’s, Optical Comparators became standard metrology tools in most manufacturing environments. The basic design projected a magnified image of a part onto a lighted screen. Operators then visually inspected parts for variations. Unfortunately, the process of aligning edges was affected by the operator’s visual acuity and other factors, which introduced uncertainty into the measurement.
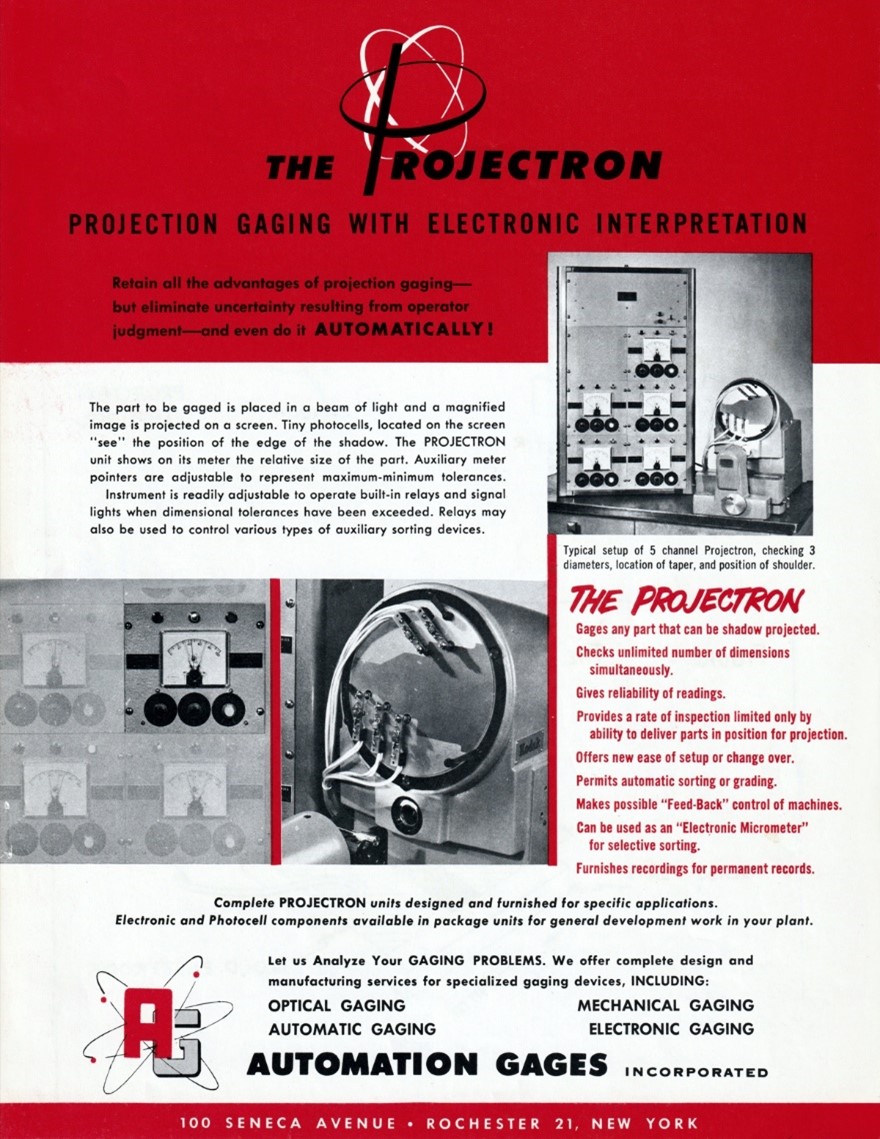
That changed in 1956 when OGP engineers invented Projectron™, the first electronic edge detection system for optical comparators. Projectron reduced measurement uncertainty by relying on photocells and analog circuitry rather than human eyes to detect part edges. This was an important first step in automation of the measurement process, and significantly increased the precision attainable in optical comparators.
2.) First Video Measurement Systems in the Metrology Industry
In 1967, OGP engineers built the Model 875 CCTV Comparator – the first video based optical comparator. This system employed an early tube-type video camera to display an image of a part on a cathode ray tube. As a very early development in video measurement, this system was truly a harbinger of things to come.
In 1980, OGP engineers introduced the Vidicom Qualifier 863 – the first video measurement system with full field-of-view image processing – at the IMTS trade show in Chicago. The VQ-863 was a truly revolutionary computer-controlled automatic video measuring system. It had optical advantages not seen in the competition, such as constant working distance, telecentricity, and multiple magnification levels without the need to change objective lenses. The Vidicom Qualifier 863 announced OGP’s entry into the video system market in a big, bold way.
As OGP engineers continued to pioneer video measurement, the company introduced the Vidiprobe Contour Projector in 1984. This introduction effectively bridged contour projector and video inspection technologies. Many used this system to ease the transition to the new video technology.
Products such as the Model 875, VQ-863, and Vidiprobe became successful video measurement systems in the metrology industry. But video measurement took an even more exciting path with OGP’s next breakthrough!
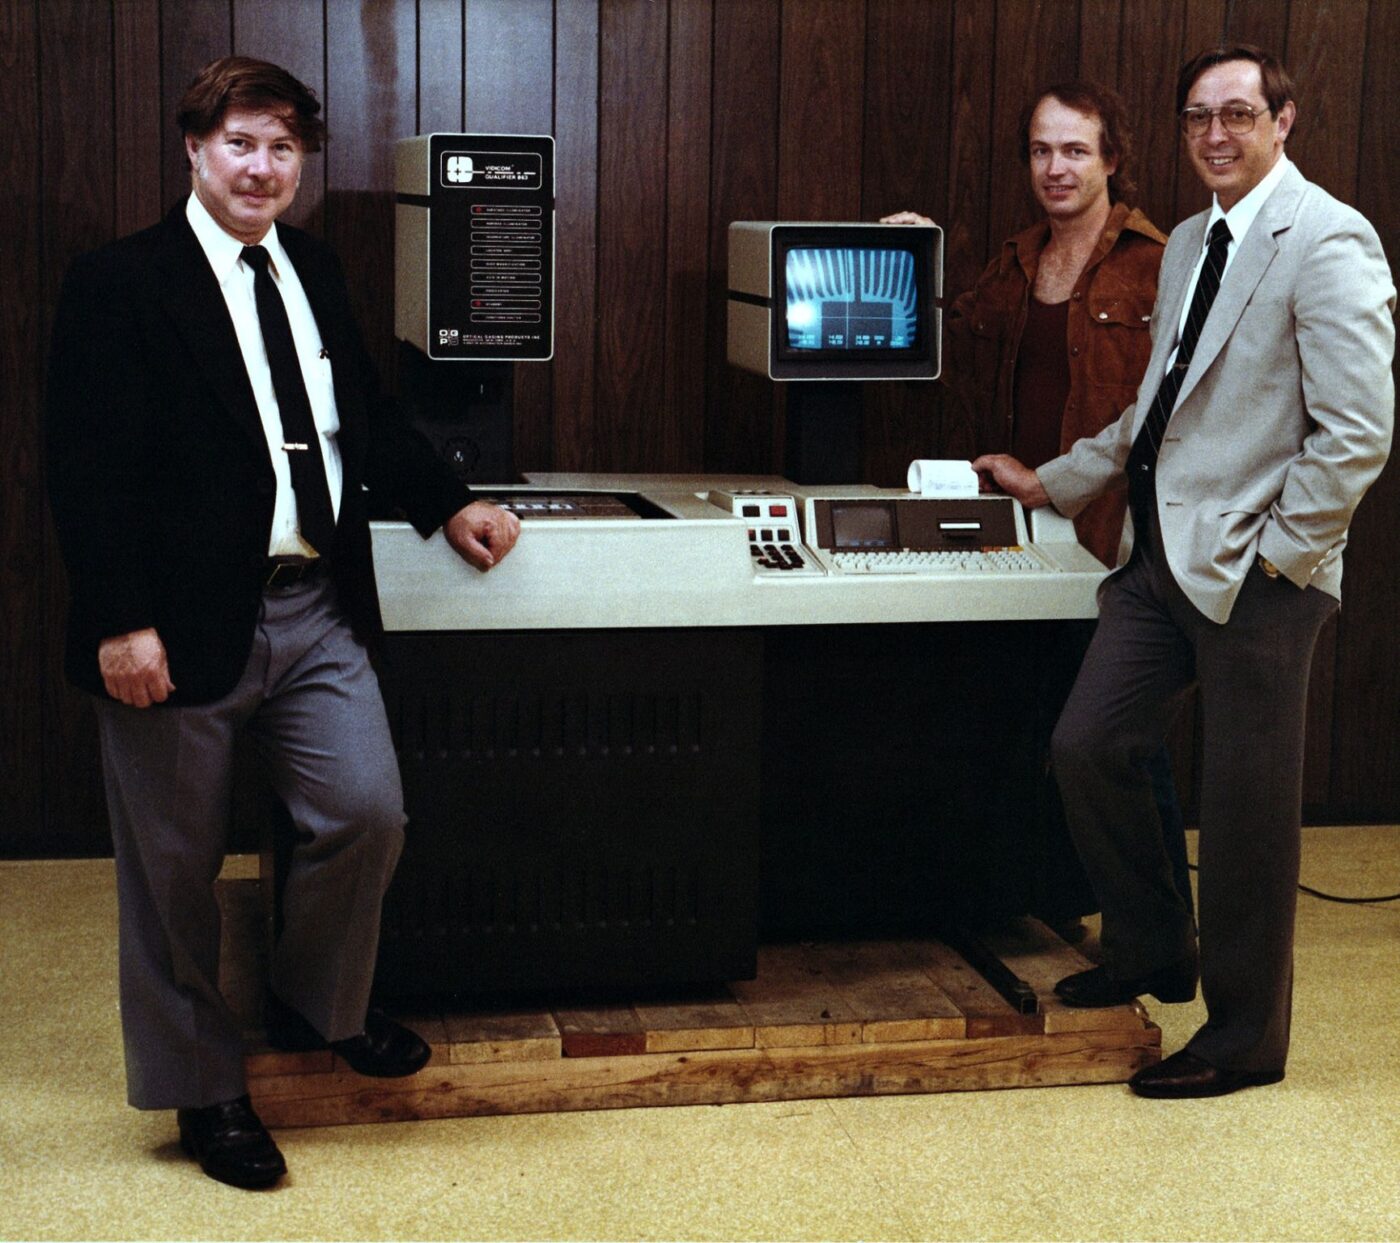
Tarry Polidor, CEO (right) poses with the very first Vidicom Qualifier 863 produced by OGP.
3.) First Multisensor Measurement System
In 1986, company engineers pioneered multisensor measurement by adding lasers and touch probes to its line of video systems. They created a revolutionary new machine named the Intelligent Qualifier 2000 (IQ-2000), which became the world’s first true multisensor coordinate measurement system! The IQ-2000 featured a deployable touch probe to measure those features that could not be imaged, and a laser for autofocus and tracking. All sensors were calibrated to a common reference frame assuring there was no loss of accuracy when switching between sensors.
The large low magnification field-of-view also had a huge twelve inch (300 mm) depth-of-field. This meant that all features of a part fitting within that volume were in-focus, allowing OGP engineers to develop additional algorithms to locate and identify the part, and then automatically retrieve and execute its measurement routine. The IQ-2000 thereby laid the foundation for the OGP product development trajectory still being followed to this day.
The Intelligent Qualifier 2000, invented by OGP engineers in 1986, became the world’s first true multisensor coordinate measurement system.
4.) SmartScope 3D Multisensor Measurement Systems
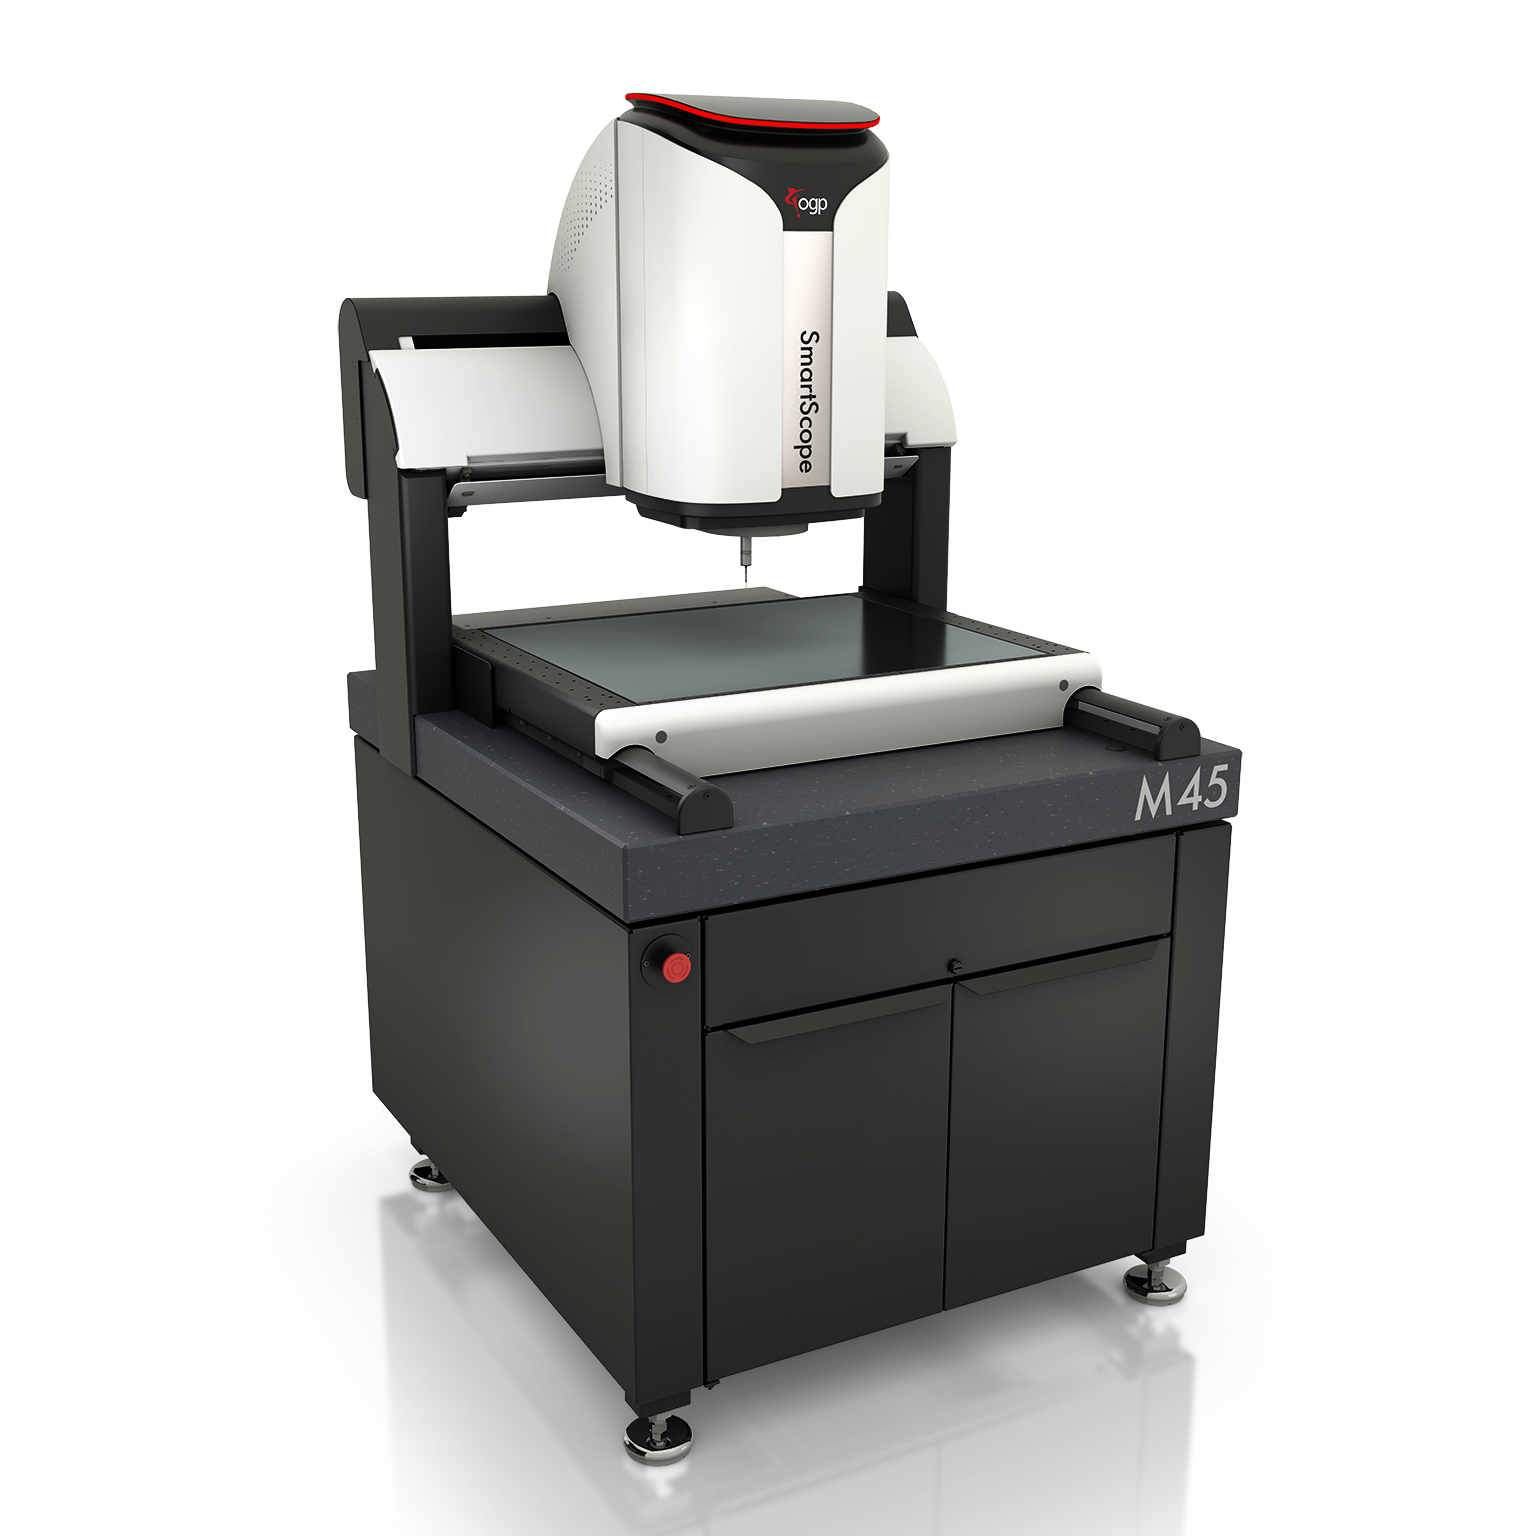
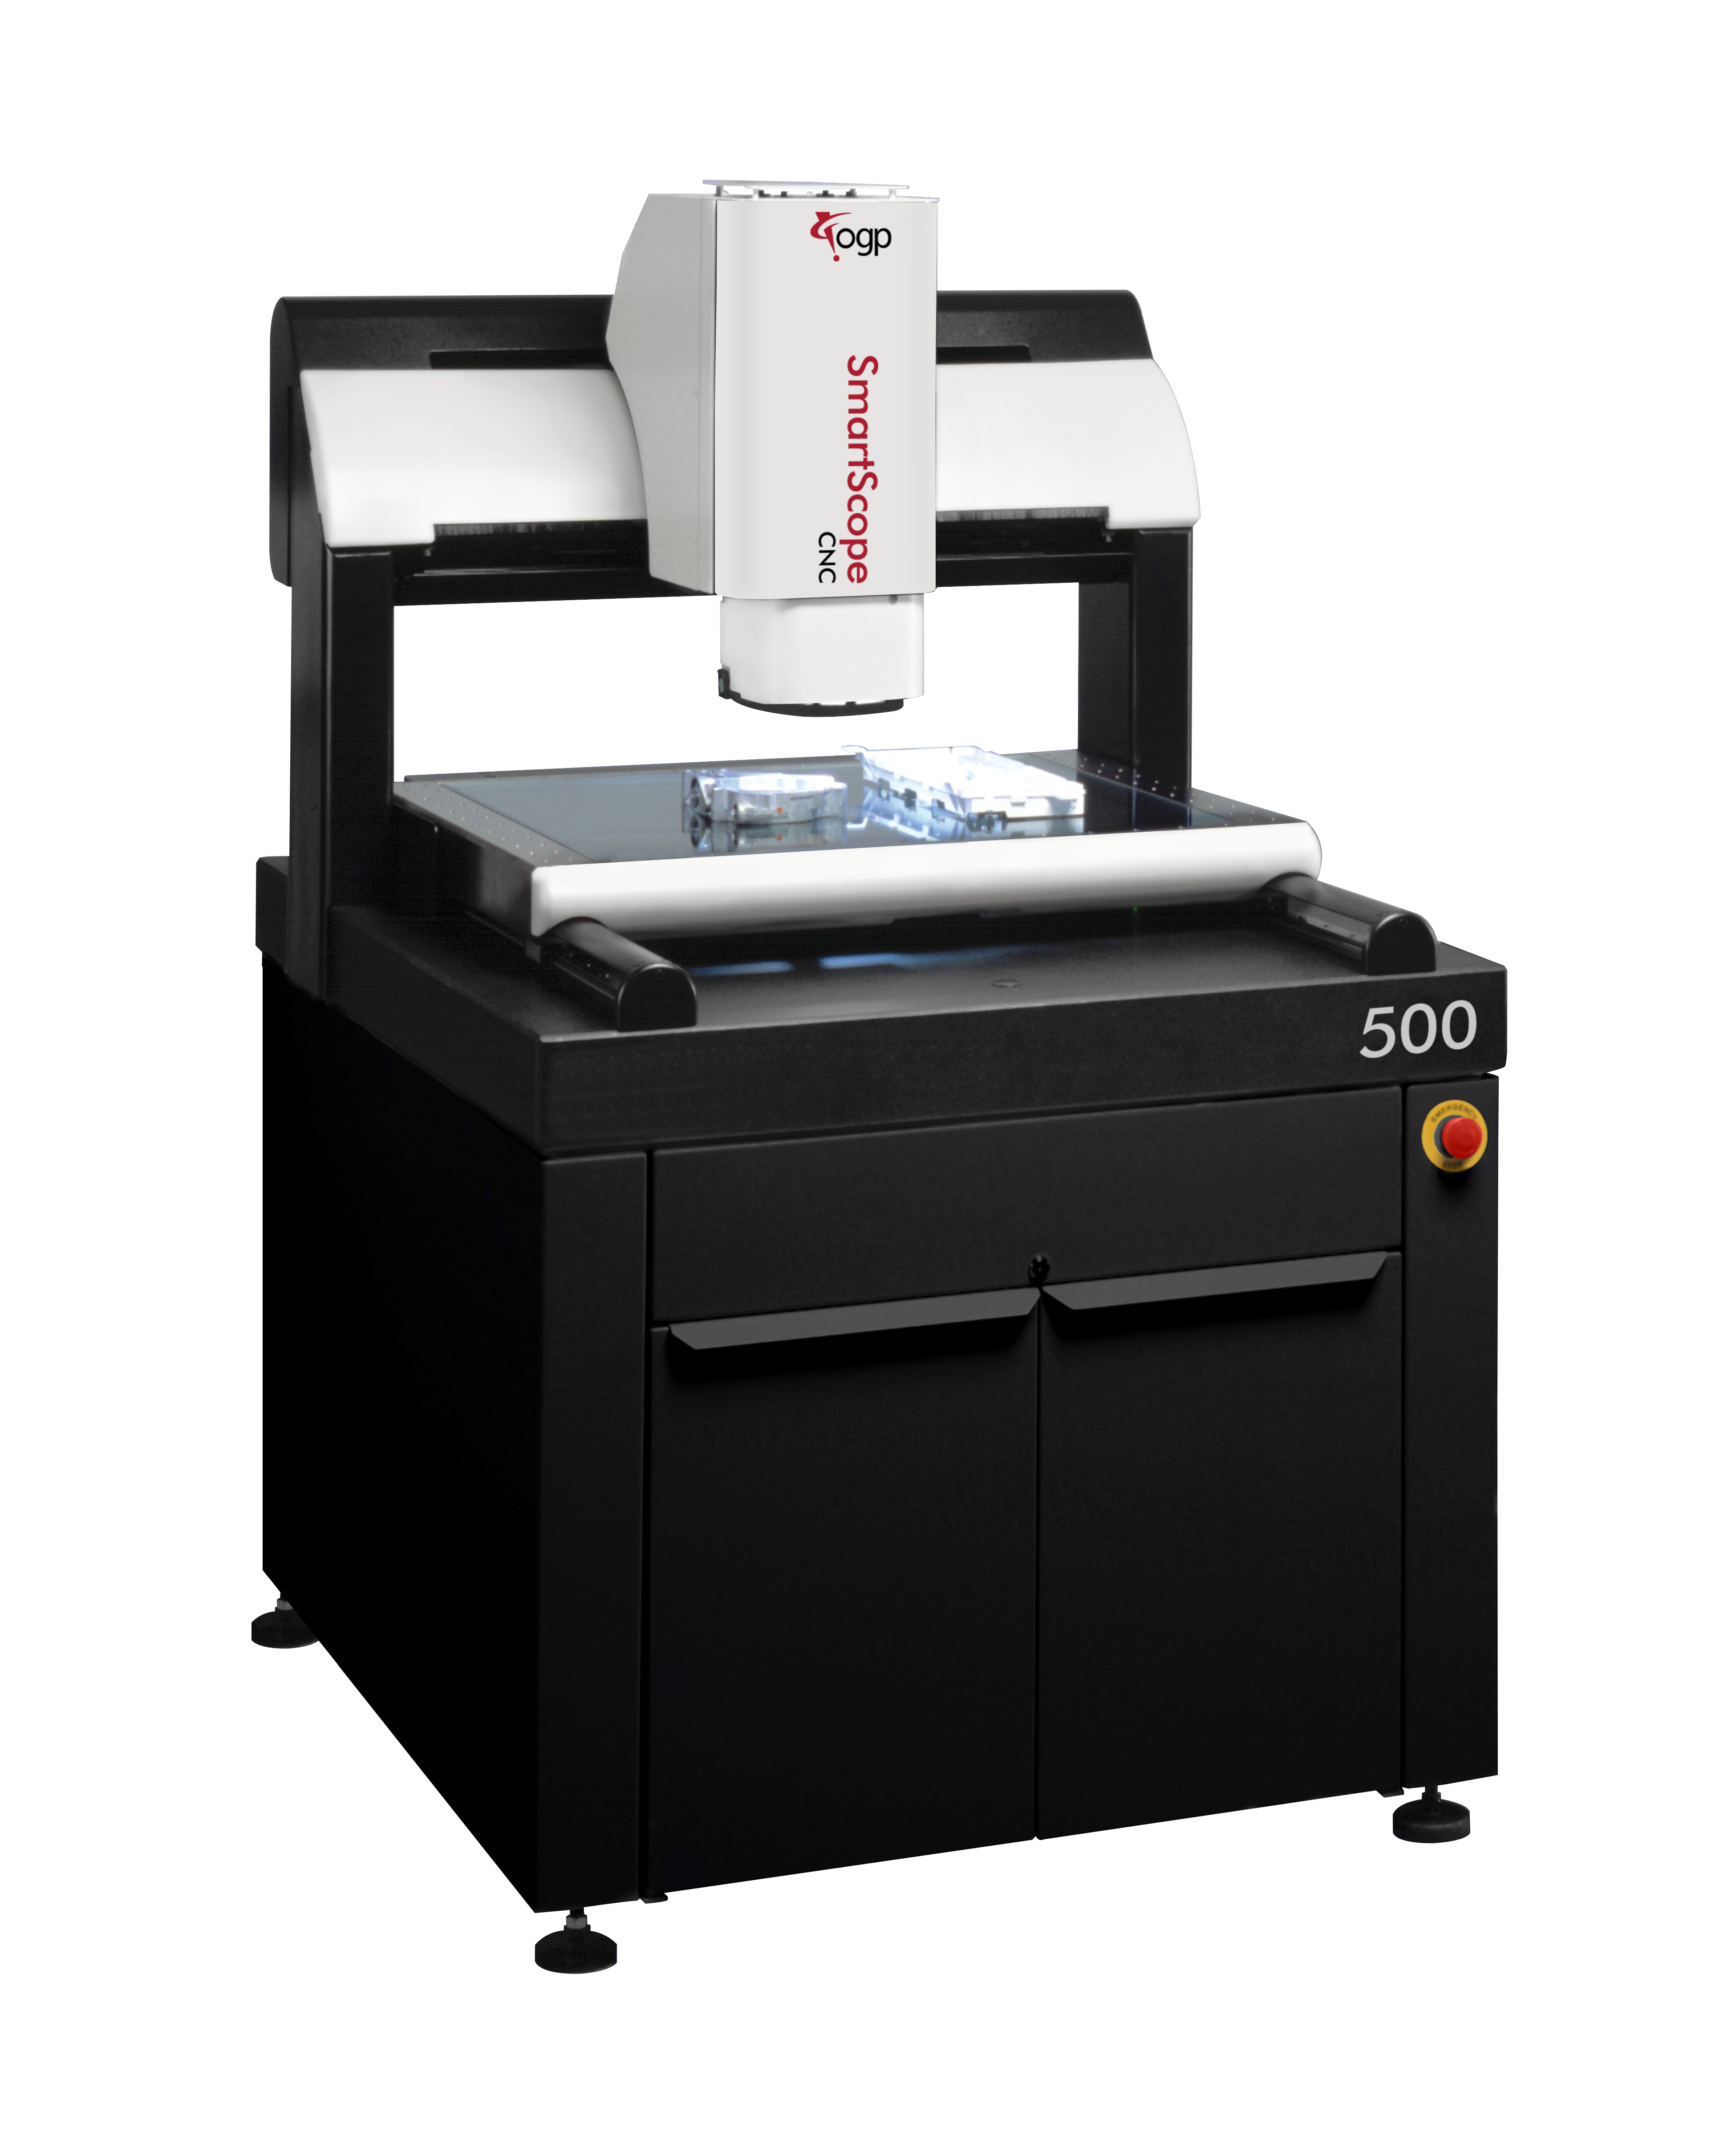
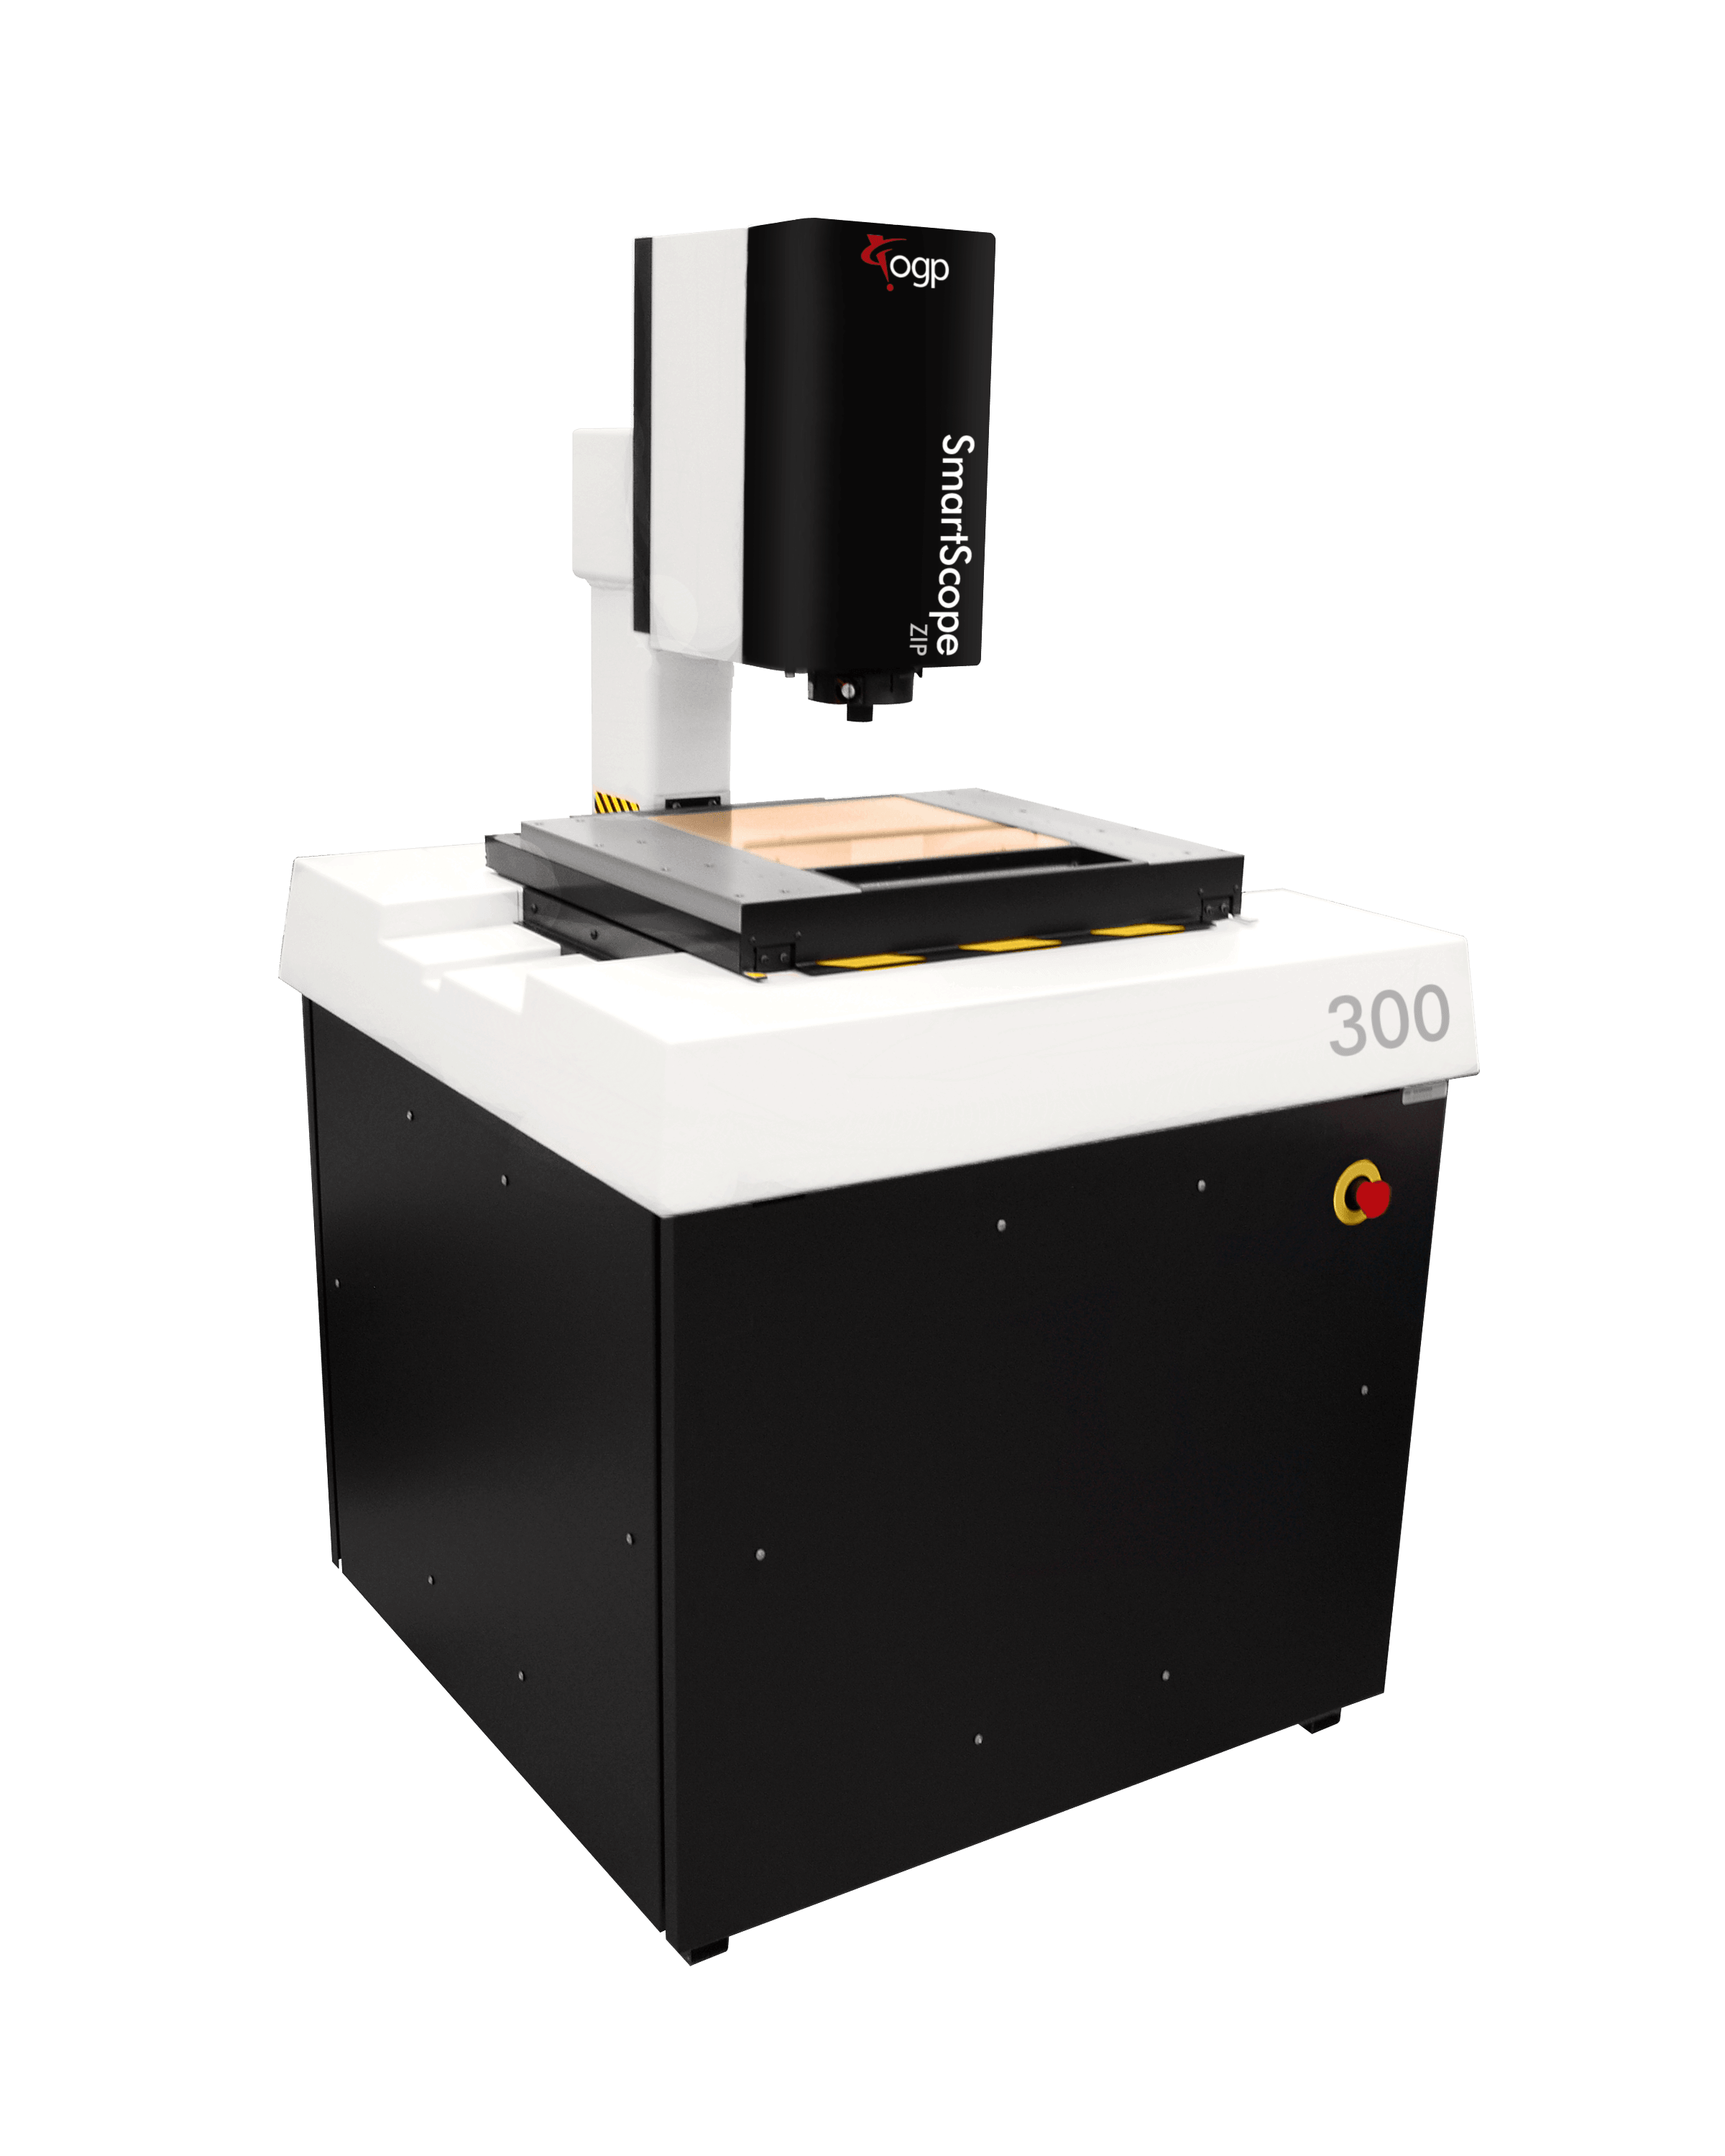
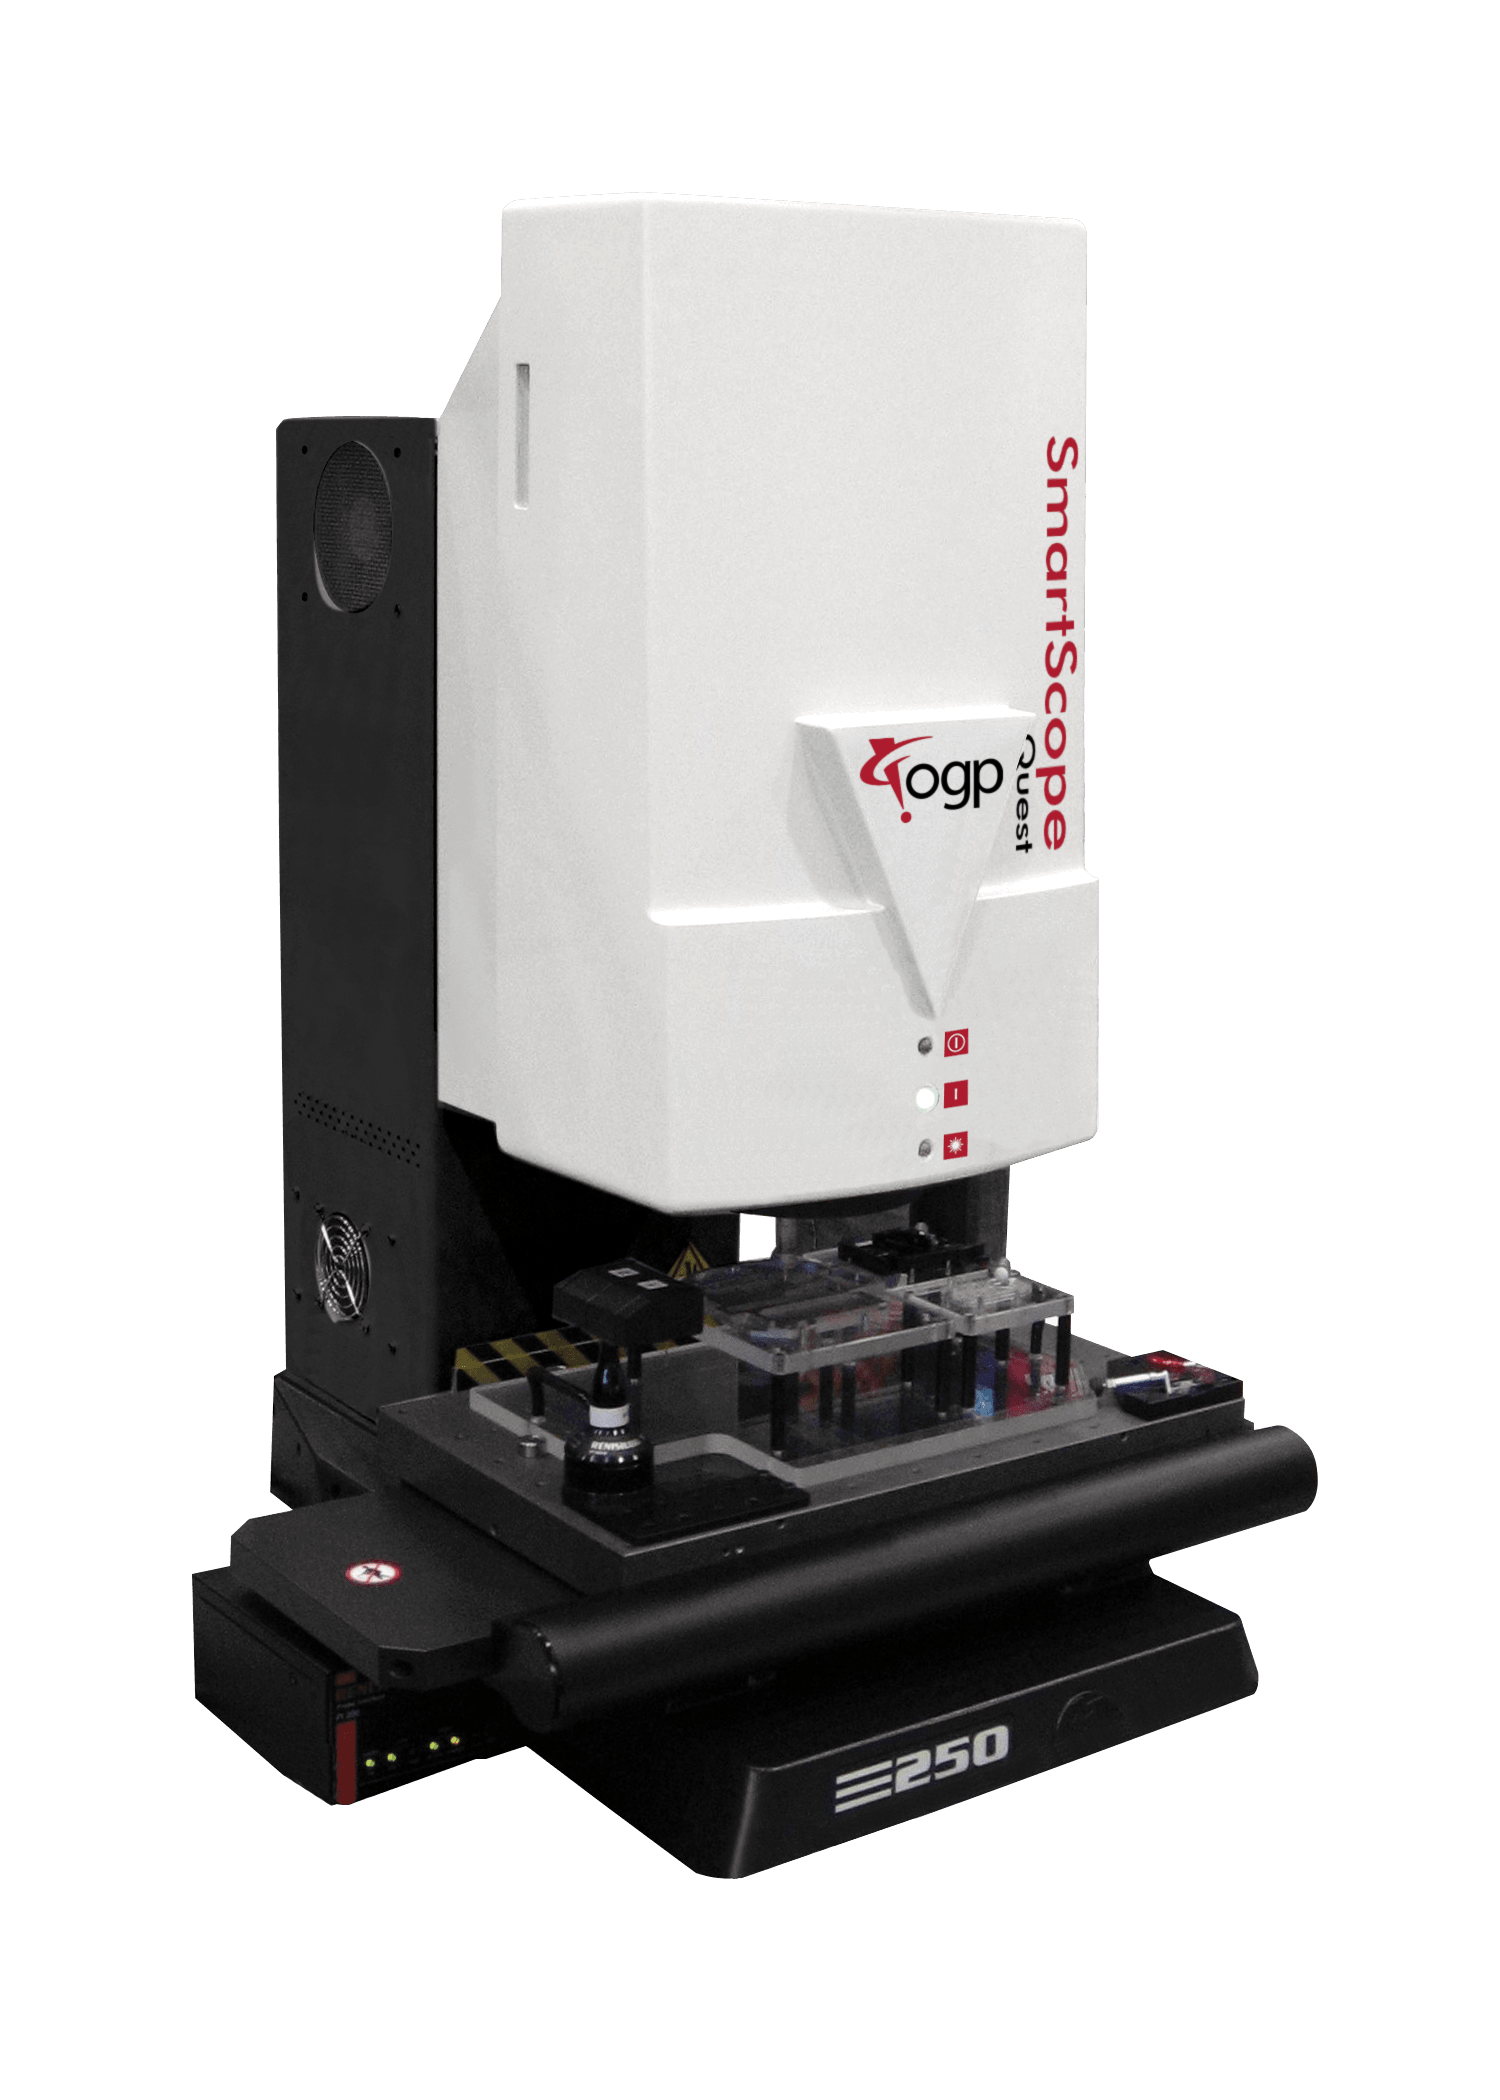
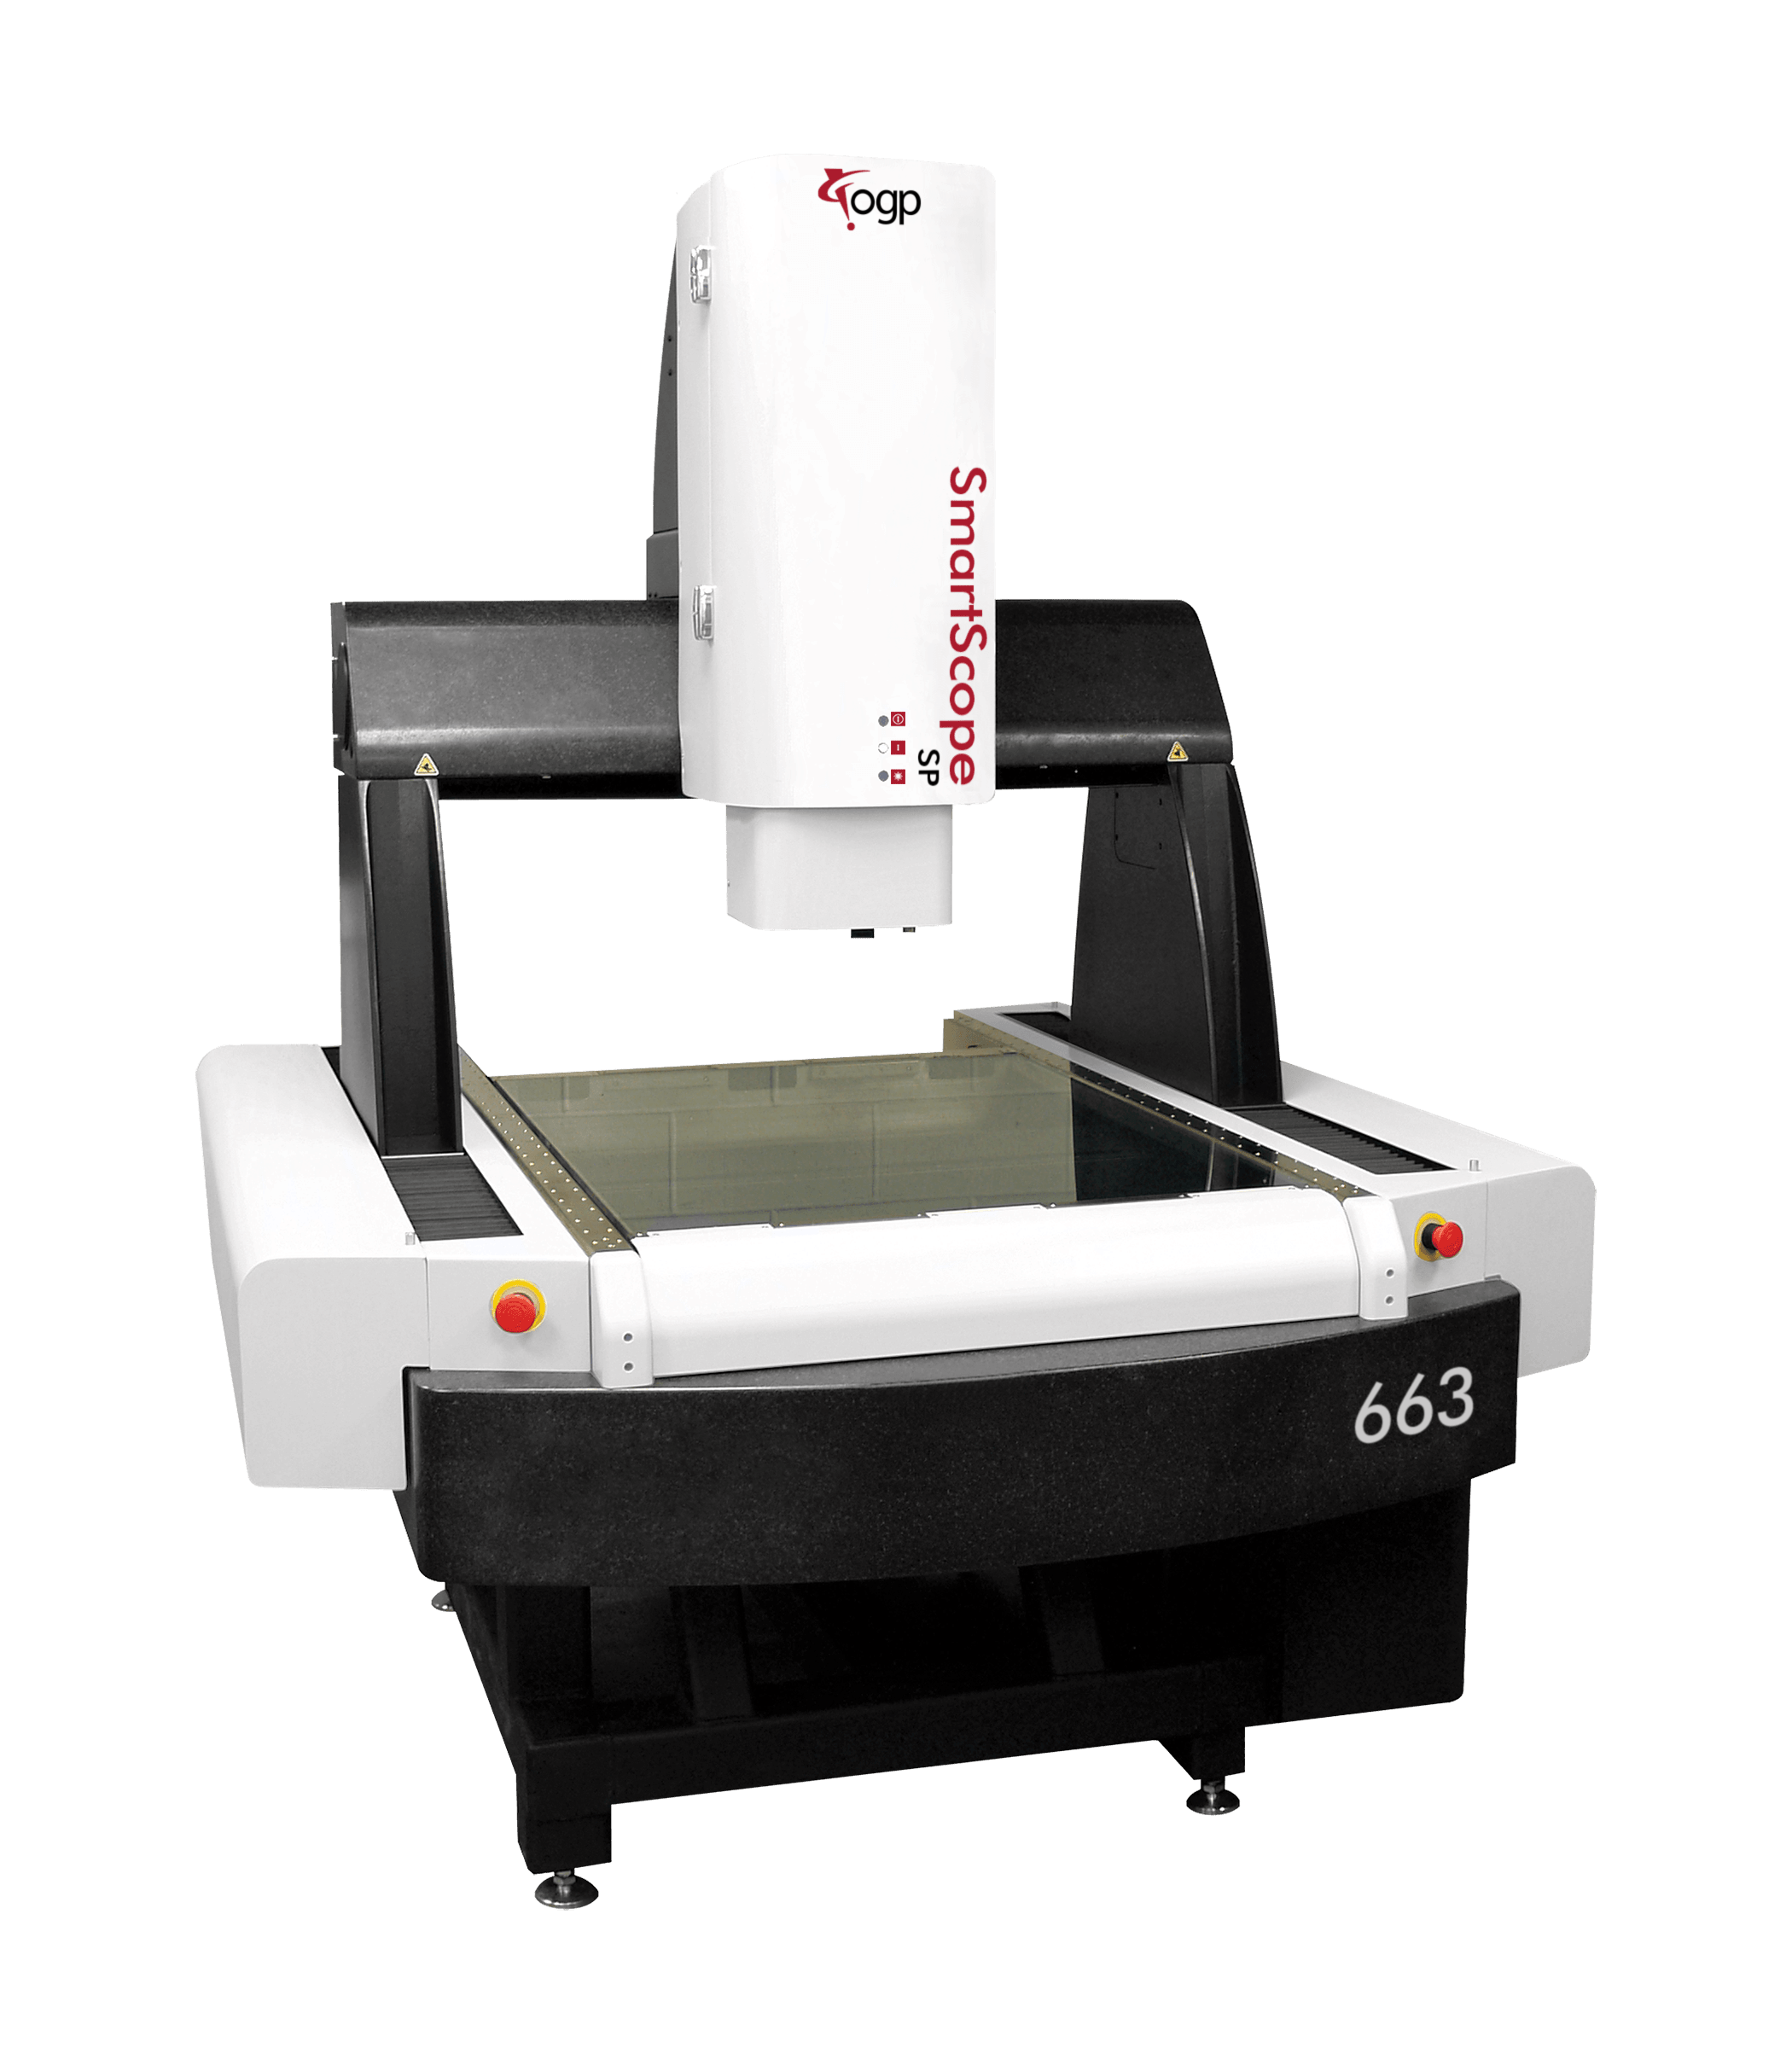
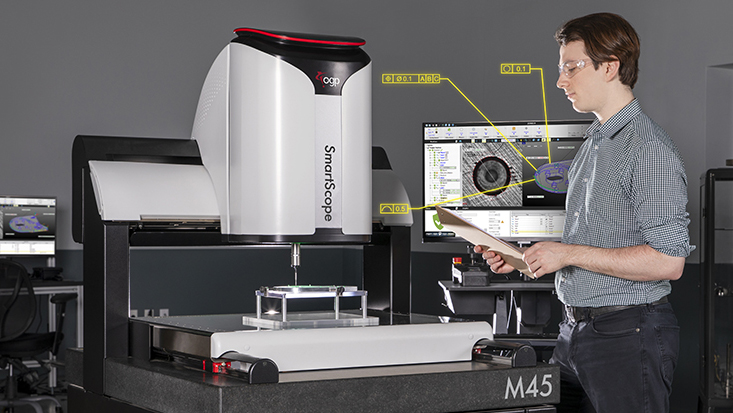
Building upon the success of the IQ-2000, OGP responded with the introduction of the SmartScope series in 1991. SmartScope® systems brought fully automatic 3-D measuring to the benchtop at half of the price of previous systems. Its color camera, programmable zoom lens, and easy-to-use software quickly made it the world’s most popular non-contact measuring system.
Manufacturing customers received the SmartScope line so well that OGP engineers expanded the line for multiple specific applications. The company developed new SmartScope products for the metrology industry – including SmartScope ZIP®, SmartScope Quest®/Vantage™, and SmartScope Flash™.
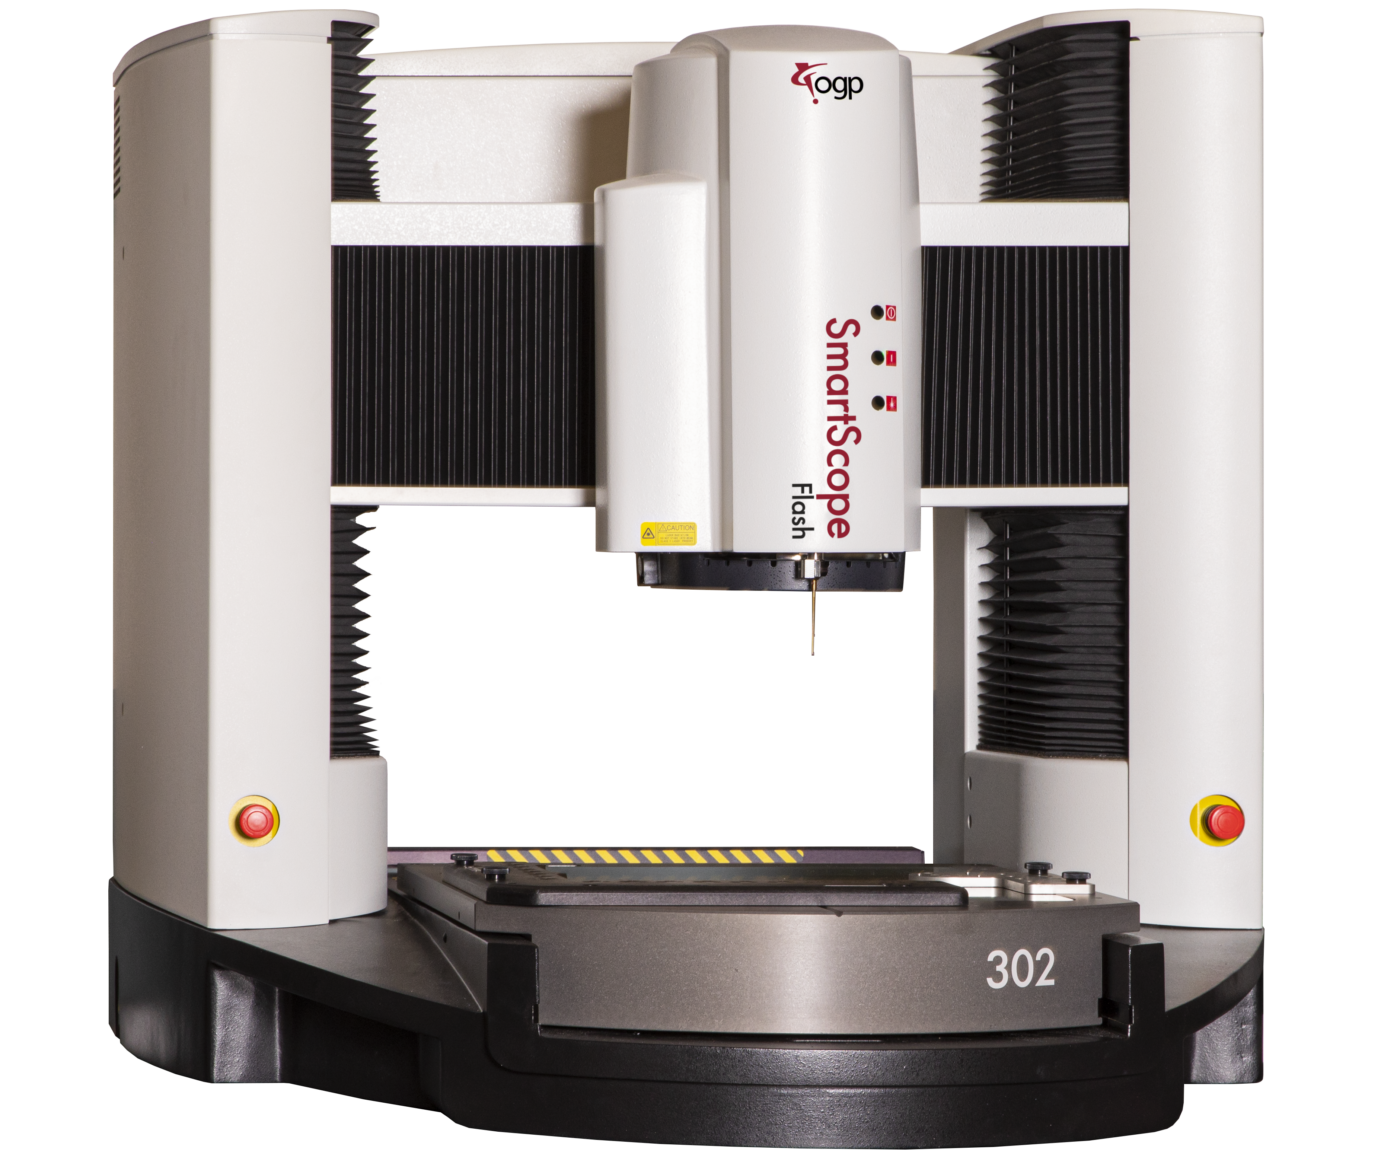
A SmartScope Flash 302 benchtop metrology system.
5.) First Self-Calibrating Zoom Lenses
In addition to new SmartScope systems, OGP engineers invented unique enhancements to meet growing needs of manufacturing customers.
OGP engineers invented the AccuCentric® self-compensating Zoom lens in 1994. This lens automatically compensated its calibration with every magnification change, thereby reducing the time and effort needed for manual re-calibration.
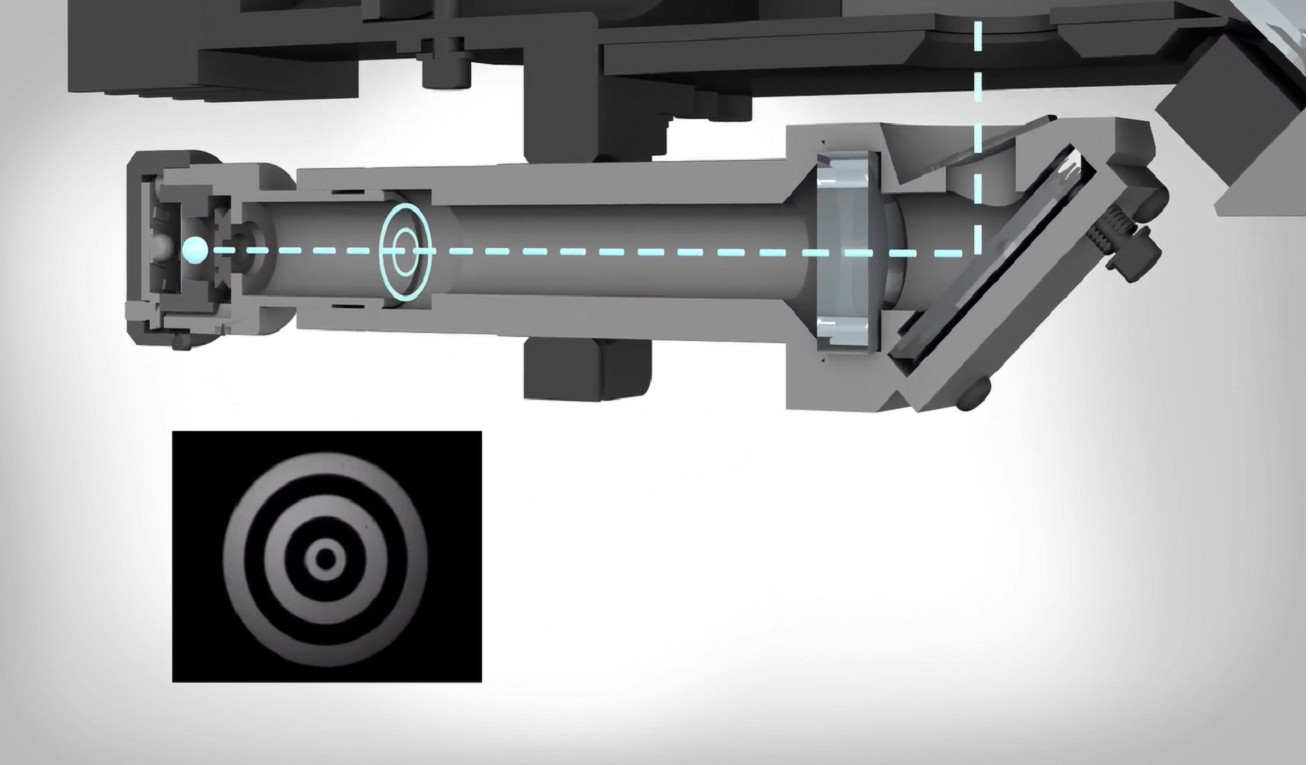
OGP AccuCentric self-compensating system.
6.) New Profile Illumination
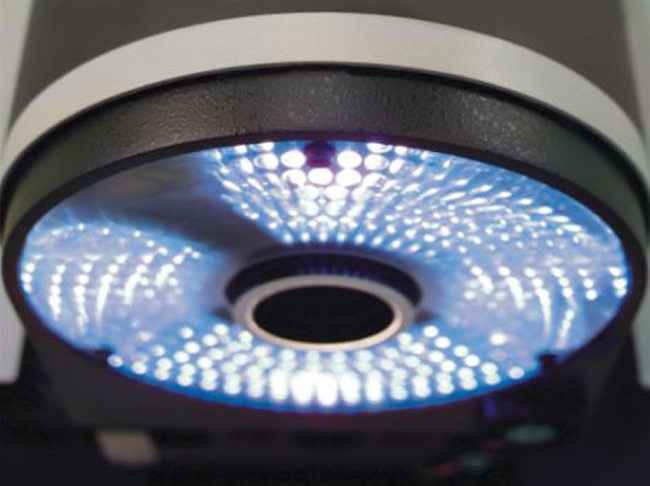
The introduction of SmartScope Flash and Flare™ Multisensor systems in 2000 debuted new patented profile illumination featuring a linear array of LED lights. LEDs are illuminated sequentially to track the optical system as it moves in the X-axis. The number of LEDs illuminated and their individual brightness, is changed depending on the zoom magnification level to match the numeric aperture of the optics.

7.) Telecentric Zoom Lens Introduced
In 2002, in creating the SmartScope Quest/Vantage Series, OGP engineers developed the TeleStar® 10:1 zoom lens, the first zoom optics configuration designed strictly for optical metrology. Telecentric over the full zoom range, TeleStar was a huge advancement in producing images of the highest accuracy. Several of its optical and mechanical innovations also earned patents. Provisions for on-axis lasers, touch trigger, and scanning probes, plus the new chromatic and resonance probes were designed in.
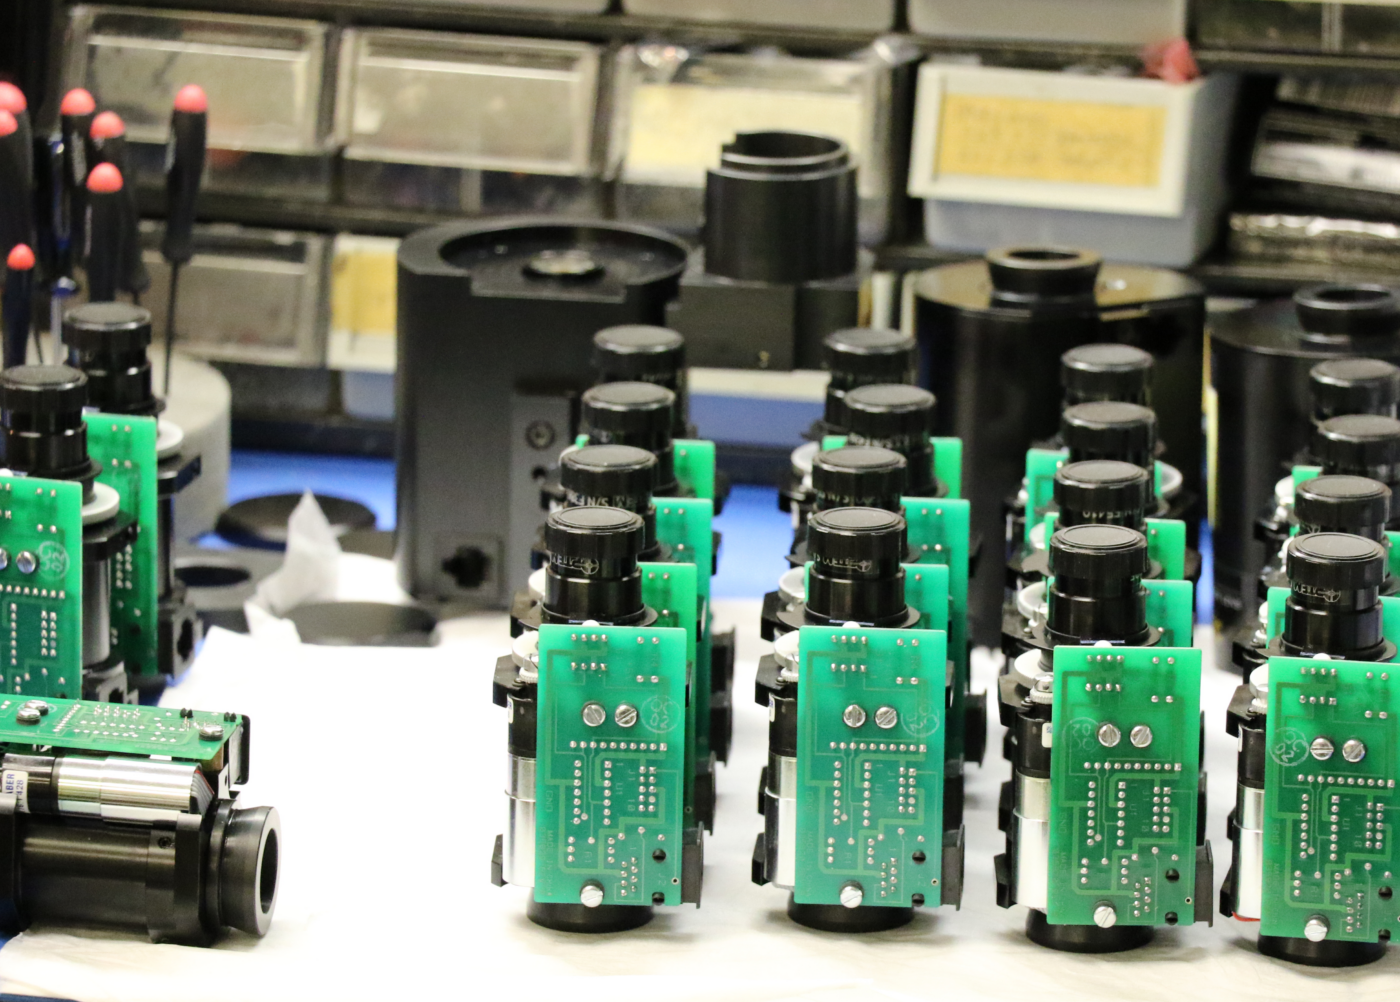
Zoom lens optics under testing in the OGP Optics Lab.
8.) First Through-The-Lens (TTL) Interferometric Laser
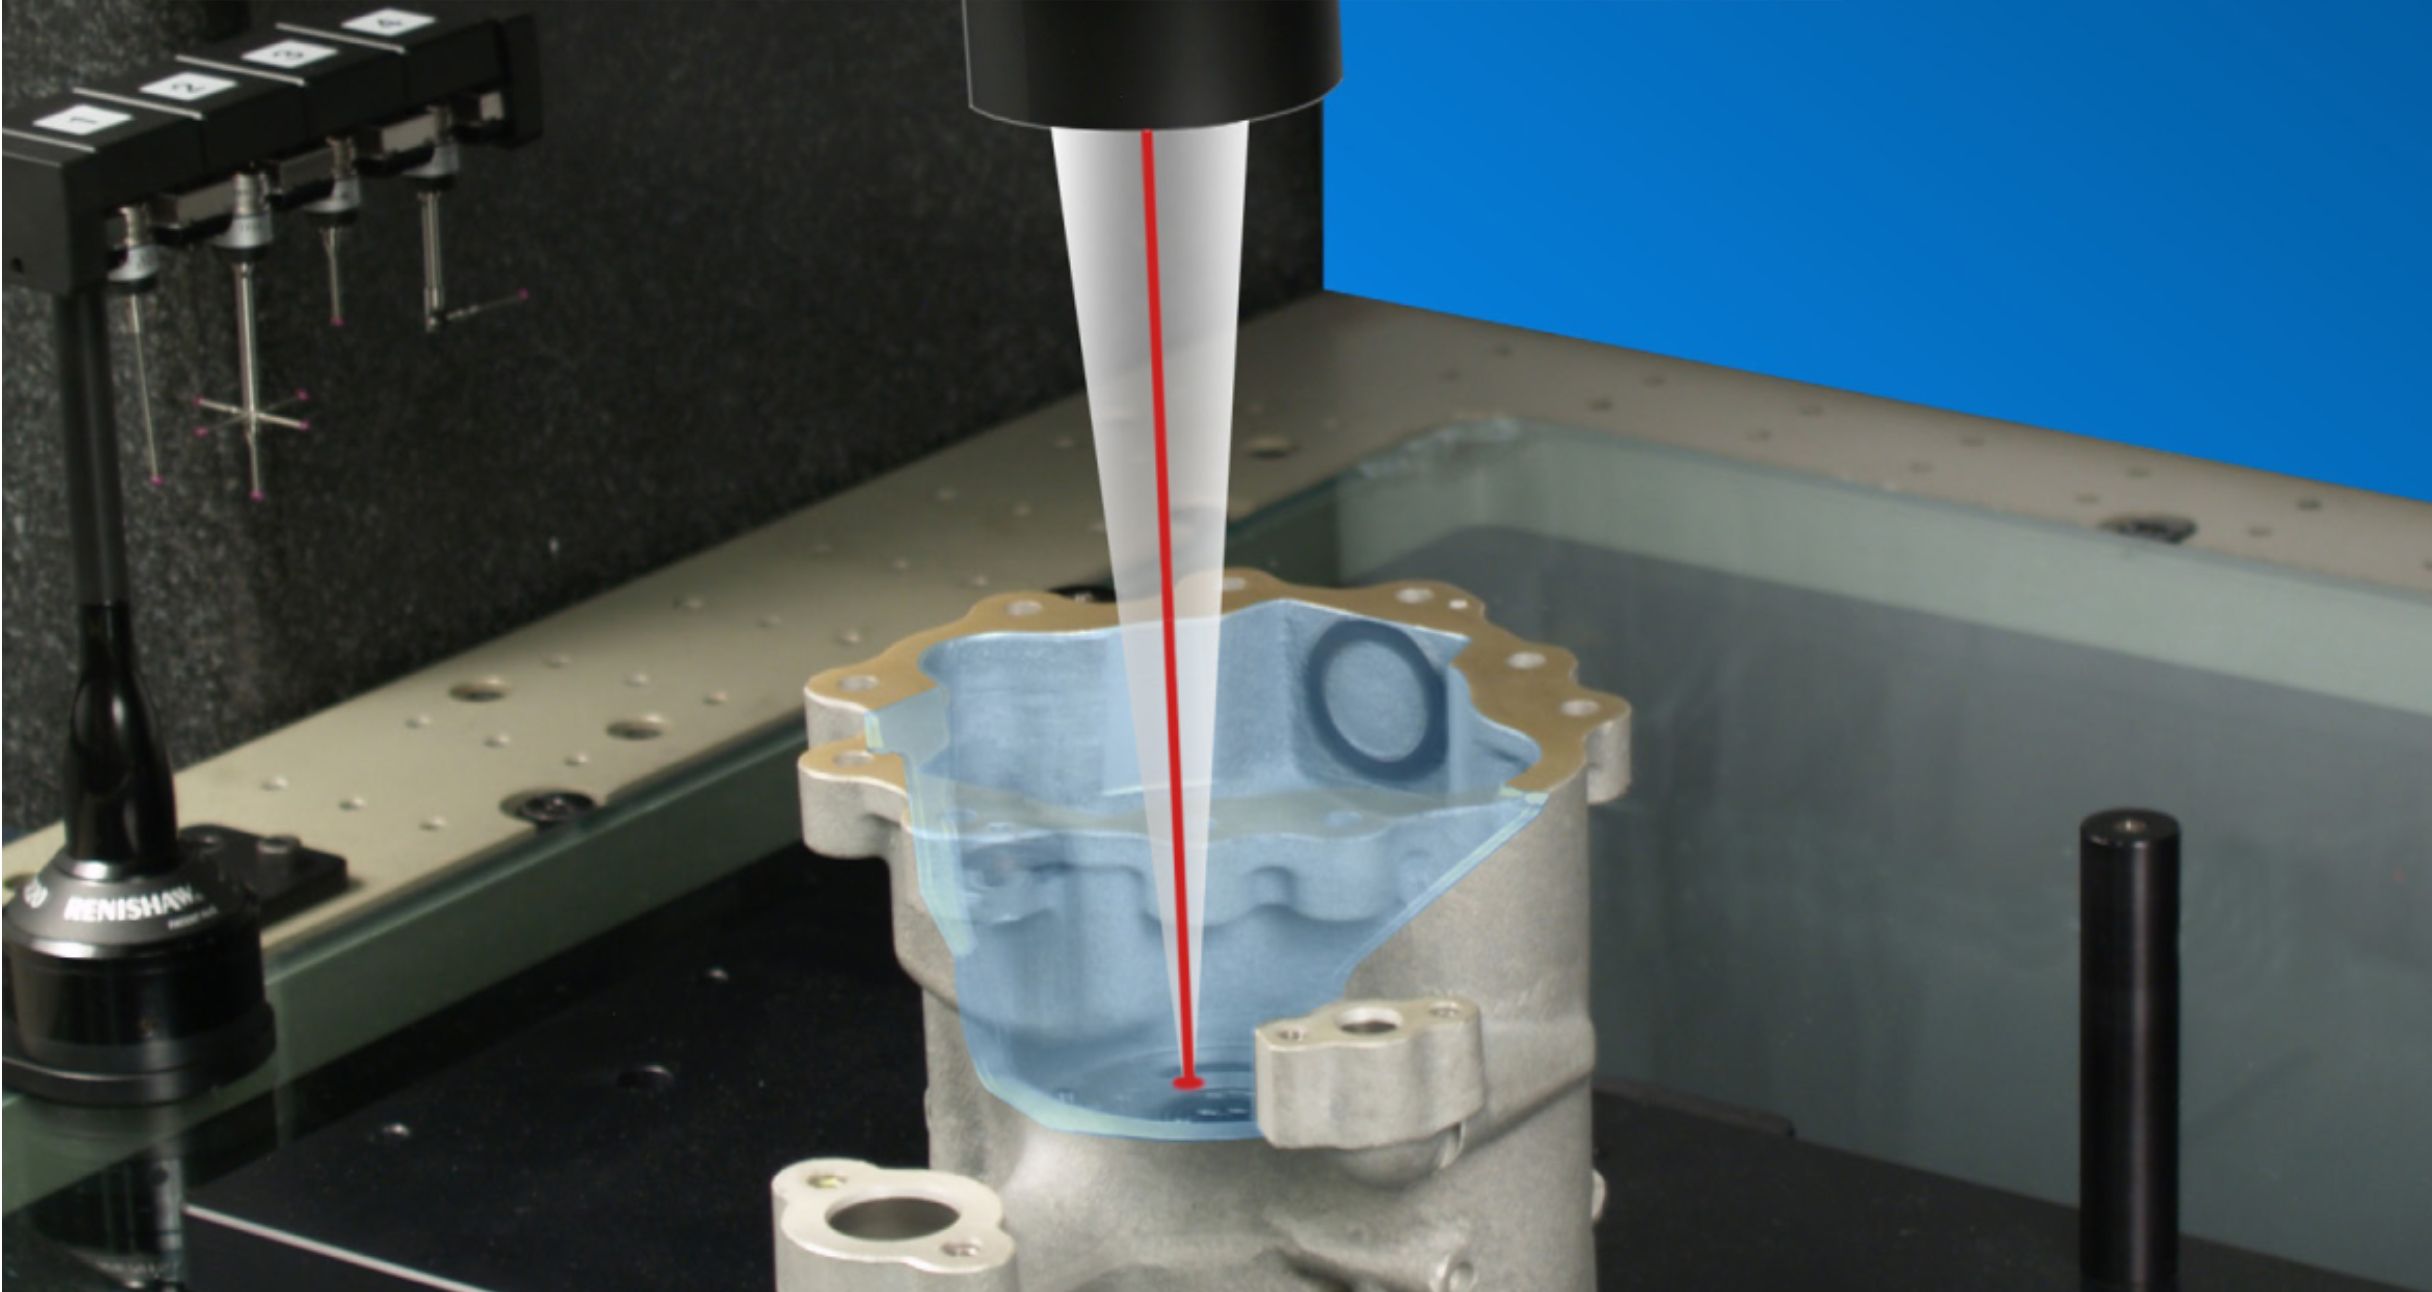
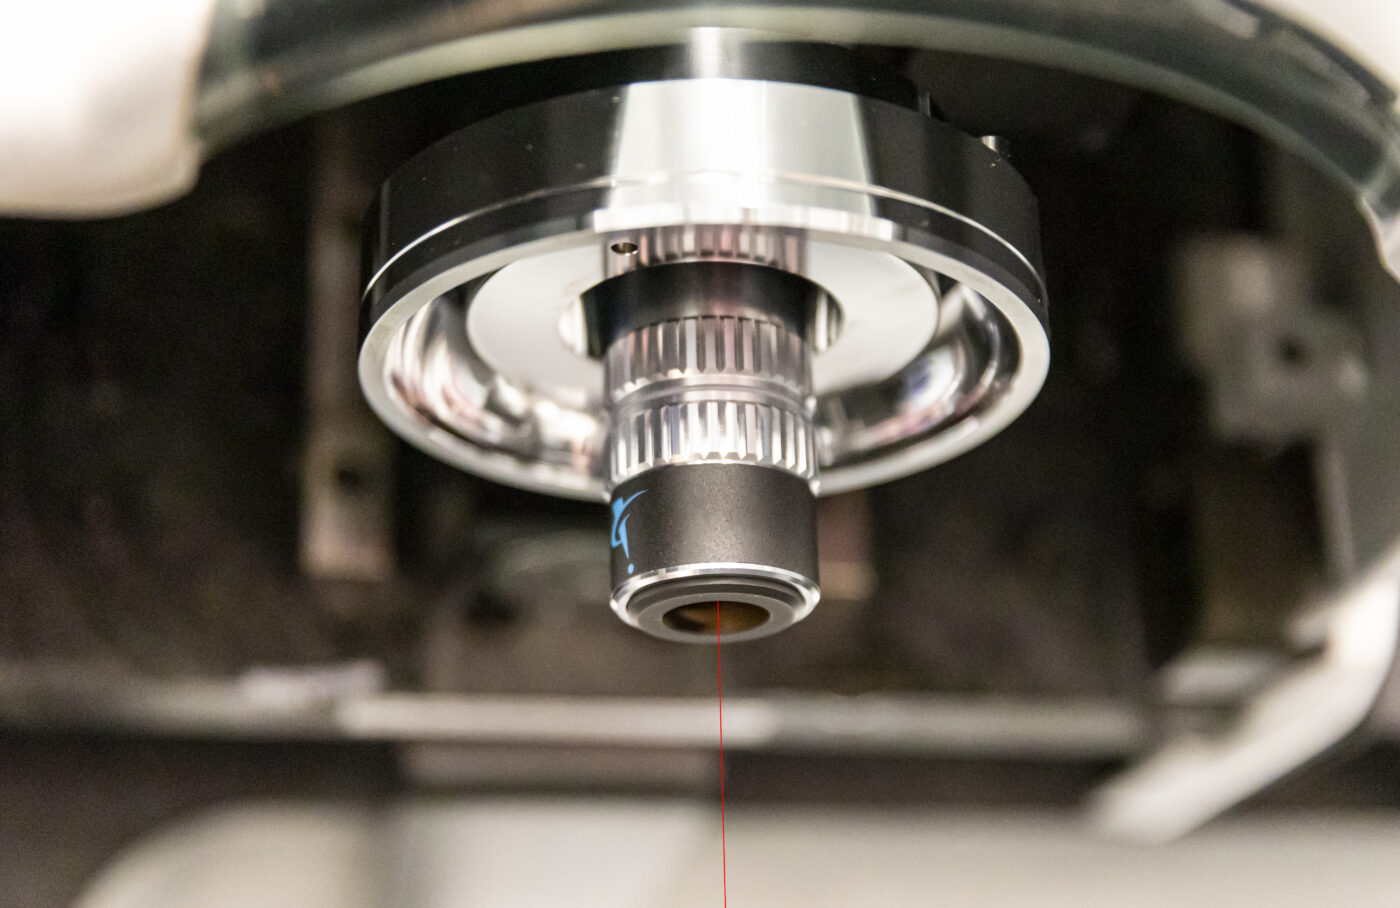
In 2010, OGP engineers developed the first long working distance, high accuracy, through-the-lens (TTL) interferometric laser. All previous lasers were offset, thereby restricting the available X-Y scanning area. But because the Telestar TTL Laser shares the front objective lens, and is on axis, and the working distance is not impeded, the laser can access the full measurement volume of the machine.
9.) Comprehensive CAD Based Multisensor Metrology Software
One problem for manufacturing environments using multiple measurement machines is learning and updating multiple vendor metrology industry software packages. Without leveraging a central platform, manufacturing environments can suffer from version control issues and too many systems to learn.
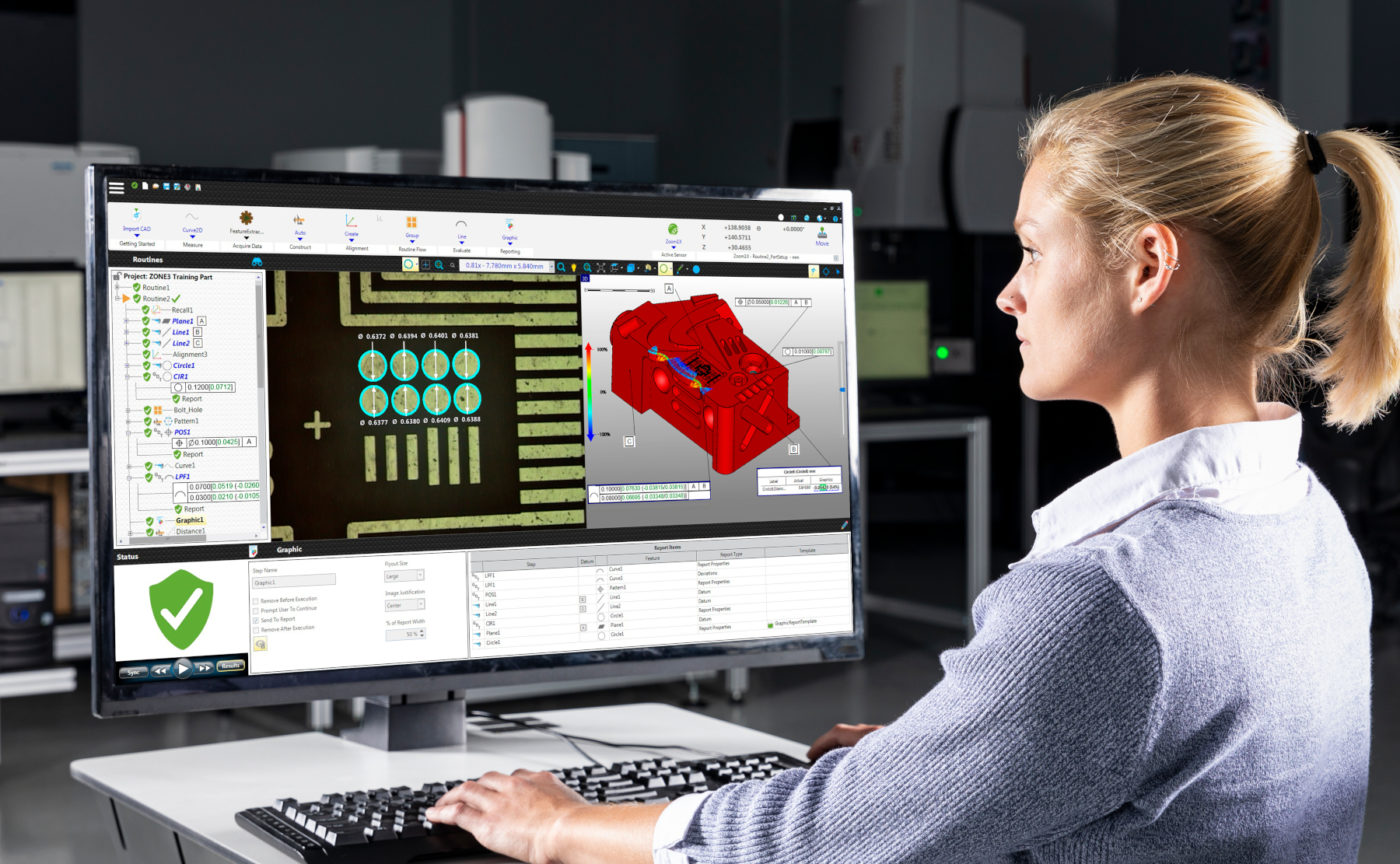
To answer these challenges, OGP’s software development group created ZONE3® Metrology Software. Launched in 2014, ZONE3 was built from the ground-up to run multiple types of OGP measurement machines with the same interface and programming capabilities. This CAD based metrology software combines over 30 years of multisensor experience into one package for faster, easier, and more productive measurements.
ZONE3 features synchronous, full field image processing from high speed digital cameras to allow instant measurement of entire scenes. The software is fully multisensor capable, and includes laser scanning and SP25 scanning probe support along with full GD&T and custom scripting.
The CAD model is the heart of ZONE3. AutoPath uses CAD data to automatically create the optimal path for each measurement, regardless of the sensor being used. The user interface is also built around the CAD model, with alignments, measurements and constructions shown graphically in real time, including patented GD&T scenario animations.
To learn more about the advantages of ZONE3 software, see our blog post, “What Makes Great Metrology Software? Part 1”
10.) Patented VersaFlex Sensor Array
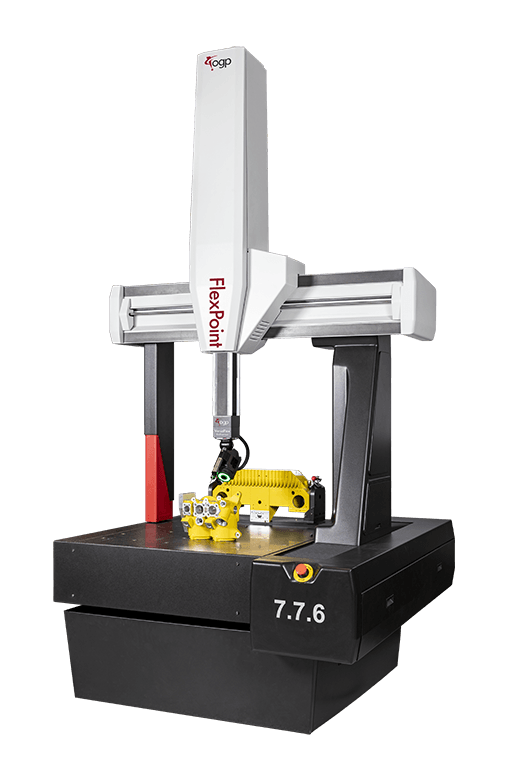
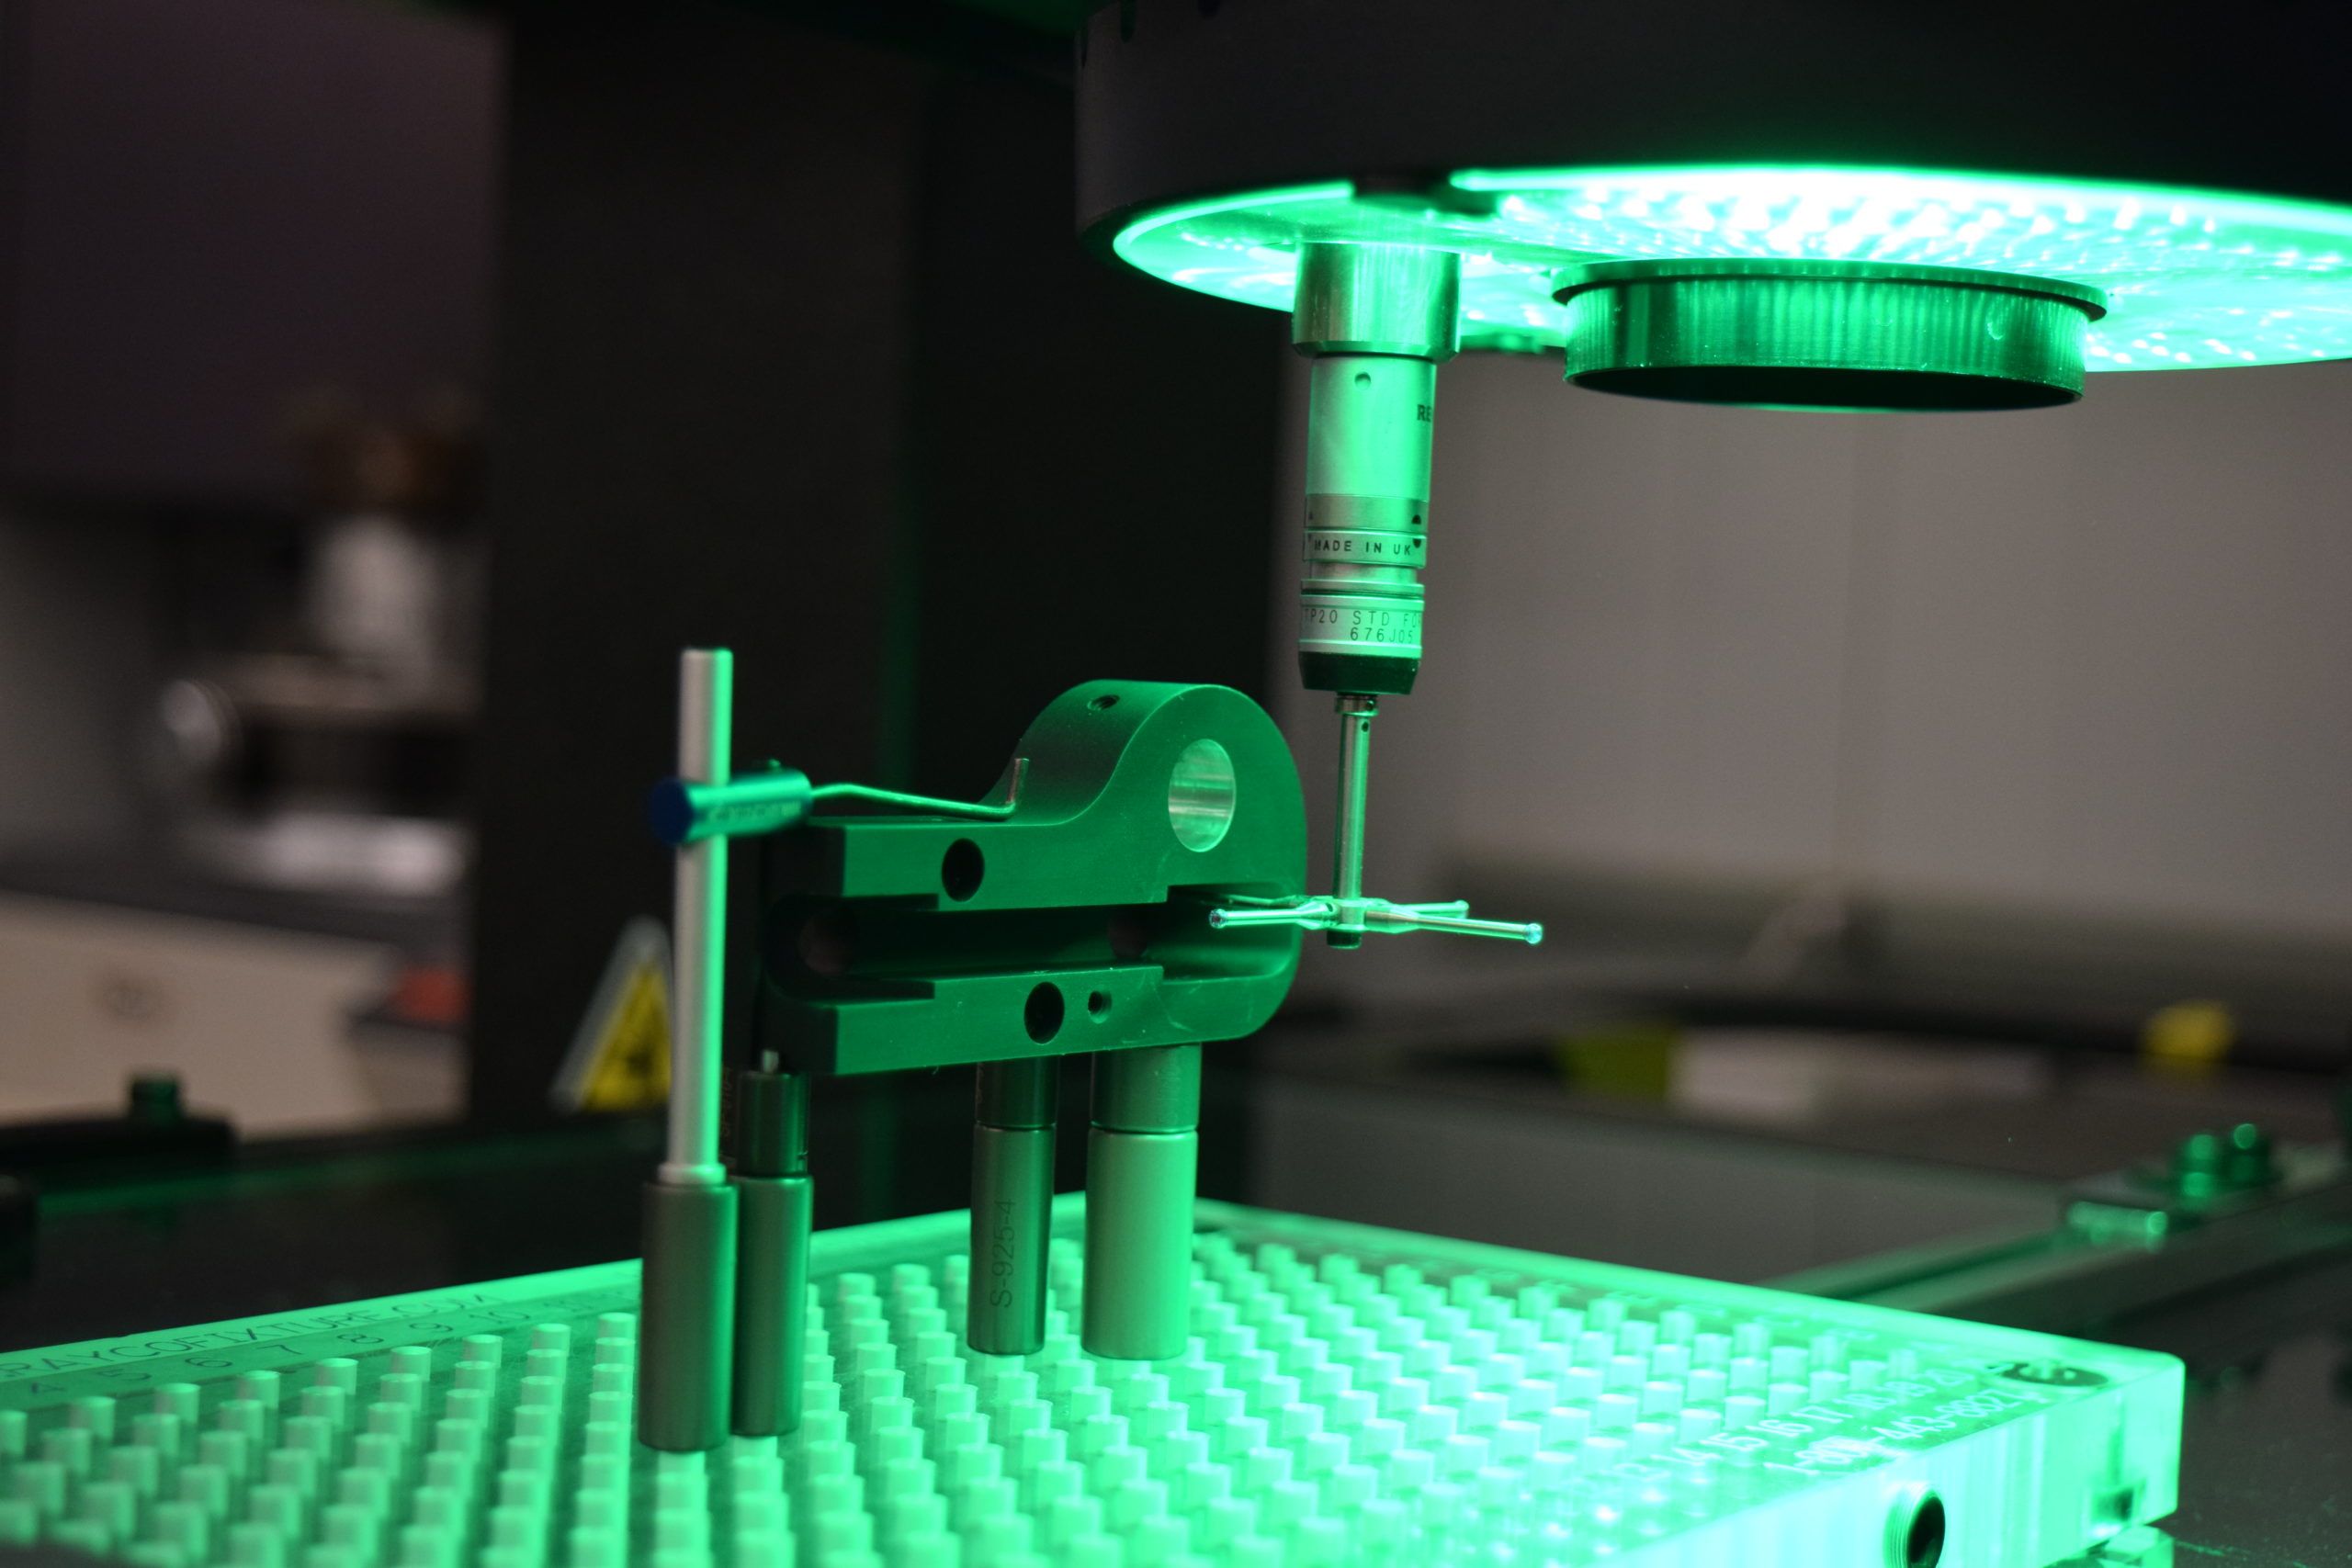
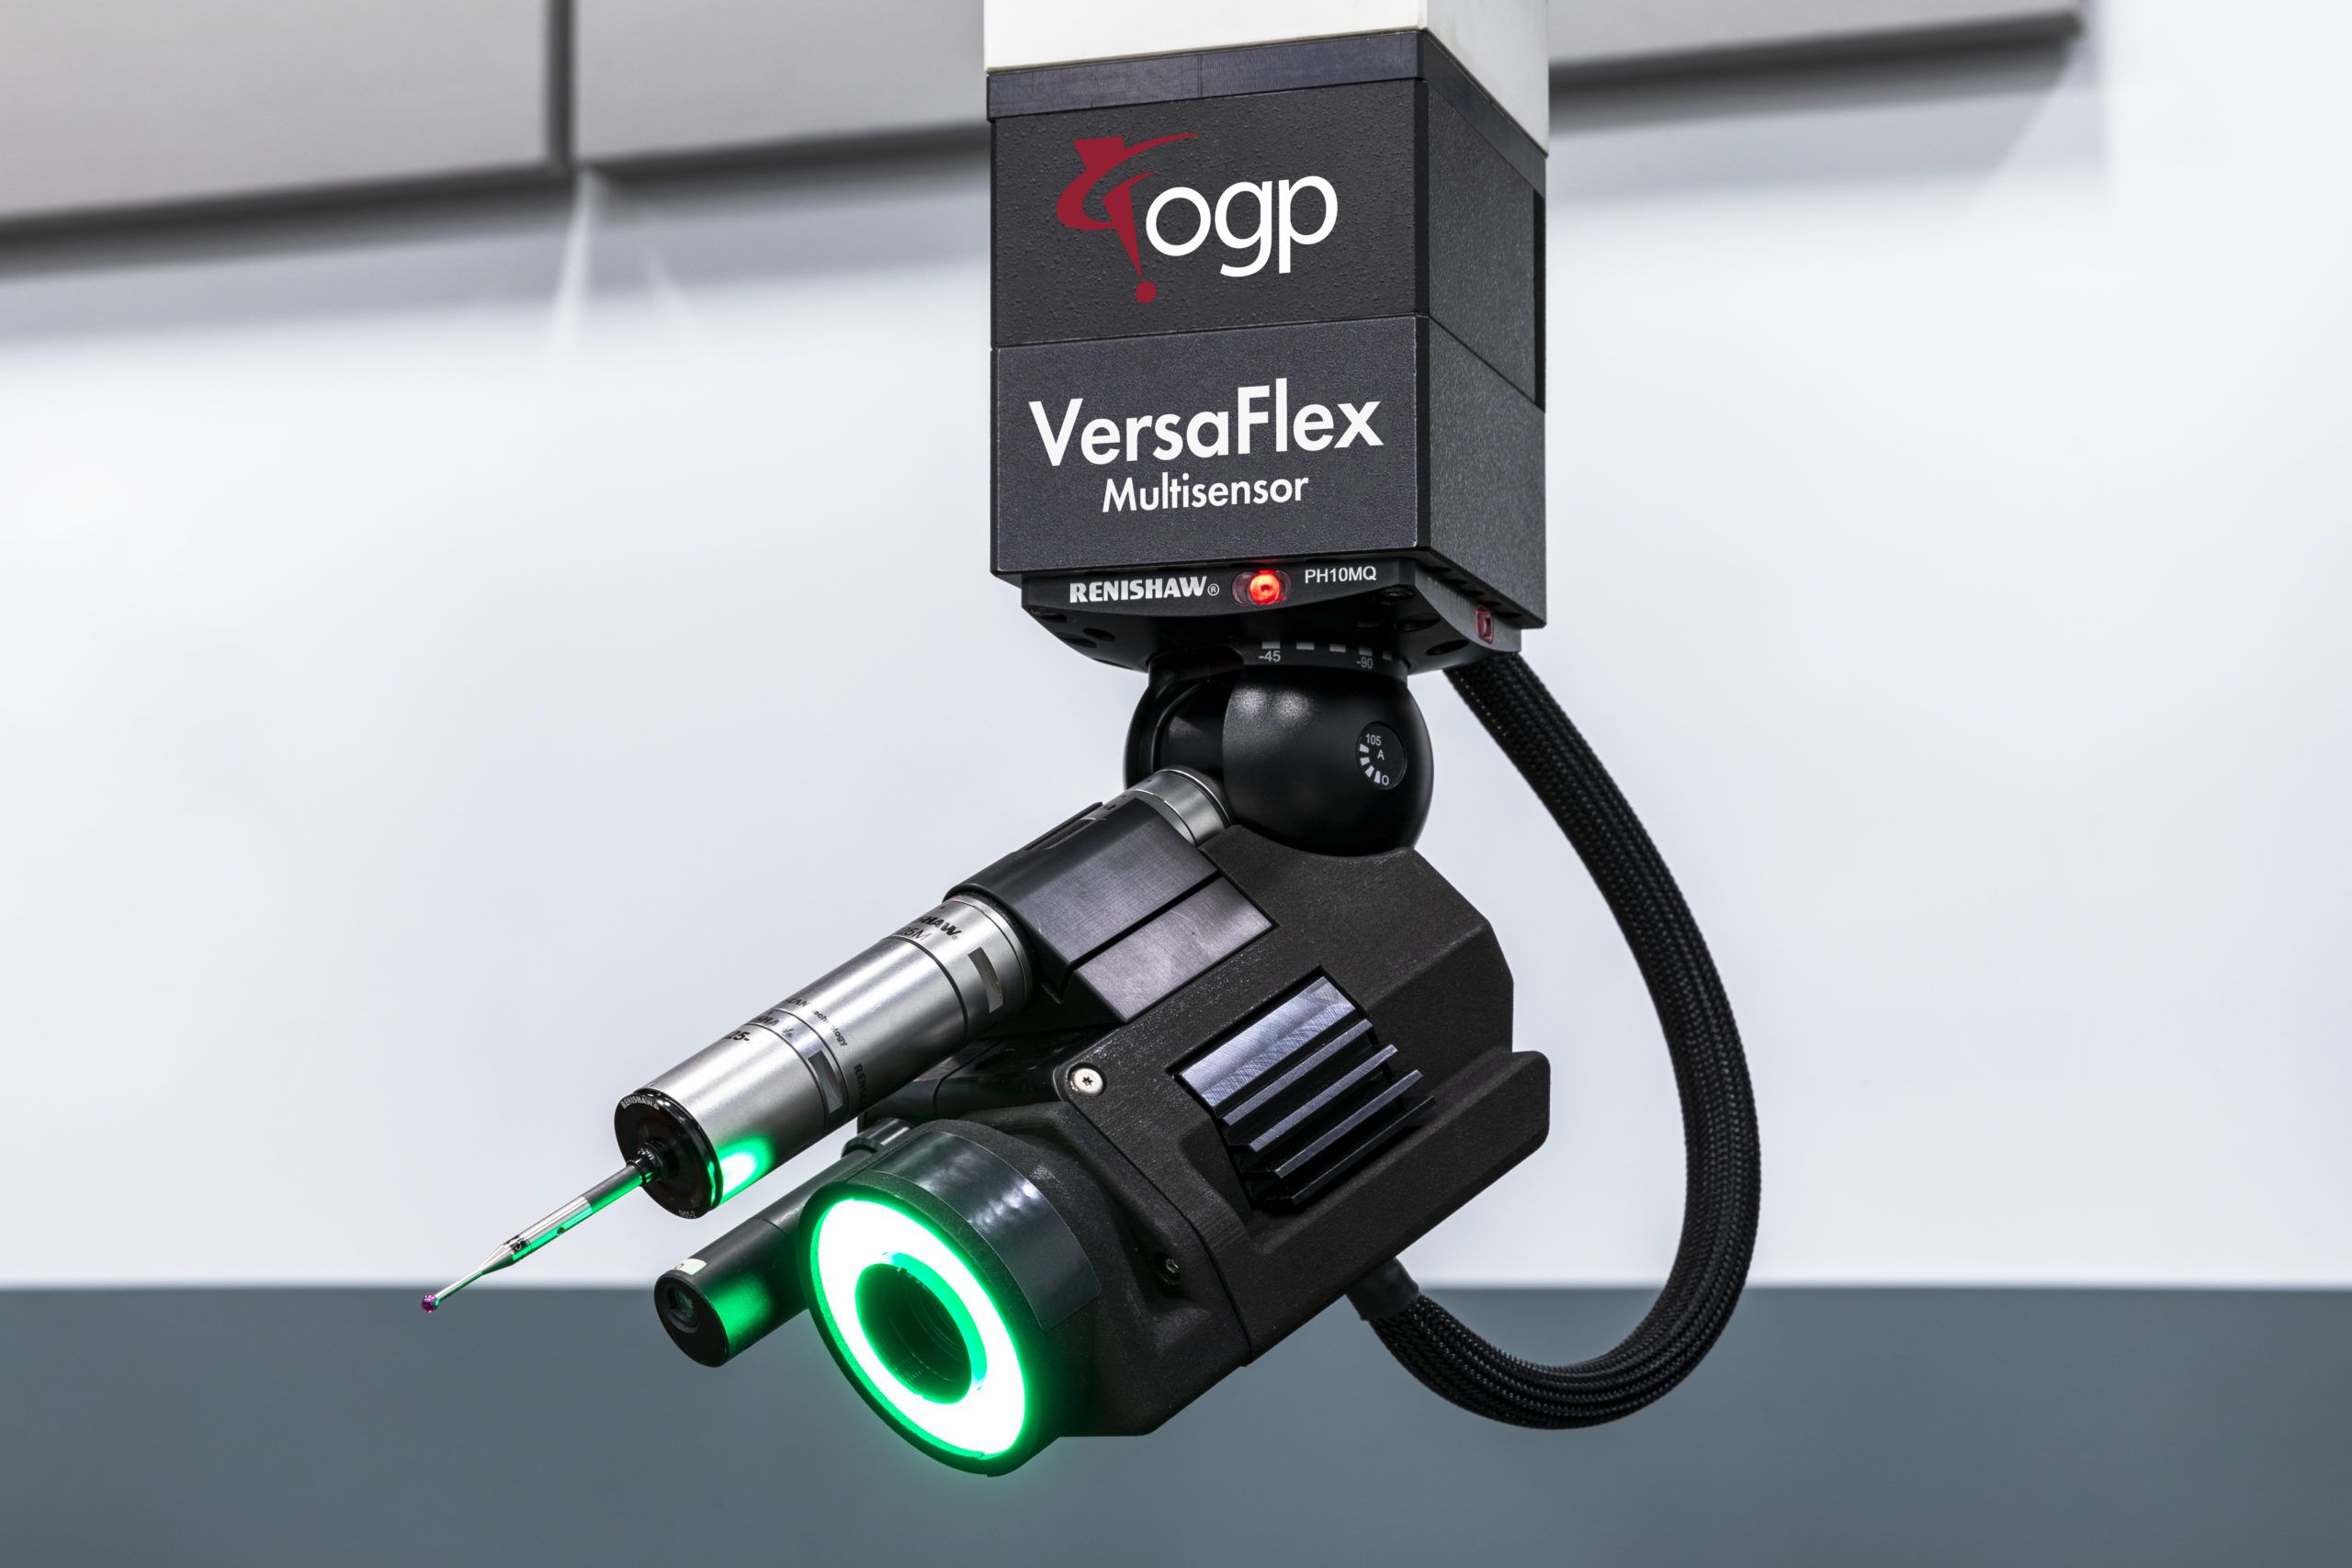
Based on years of OGP multisensor technology development, the patented VersaFlex™ Sensor Array packages up to three simultaneously available sensors in one cluster. The optical/video probe combines OGP’s long experience in precision optics, imaging, and illumination in a compact and powerful sensor assembly small enough for use on an articulating probe head. CAD programmable articulation of the VersaFlex creates optimum positioning and alignment of all sensors. Users can measure parts with a trusted scanning probe, telecentric optics, and 1 μm accuracy TeleStar interferometric laser – without the downtime of exchanging sensors and constant recalibration required on other CMM brands. Having all sensors available for immediate use provides distinct advantages in saving measurement time and gaining throughput.

The patented VersaFlex array on OGP FlexPoint® CMM systems offers throughput advantages over traditional multisensor CMMs.
Closing Thoughts
Whether improving existing products or inventing new designs, the creativity of OGP engineers never ceases to amaze! Key OGP inventions have transformed the metrology industry with new forms of measurement, new types of measuring machines, and best-in-class optics, laser, and lighting systems.
Quality teams in manufacturing worldwide have benefited and will continue to benefit from OGP products that allow them to measure with more speed, automation, and accuracy than ever before.
Meanwhile at OGP, the inventions continue!


